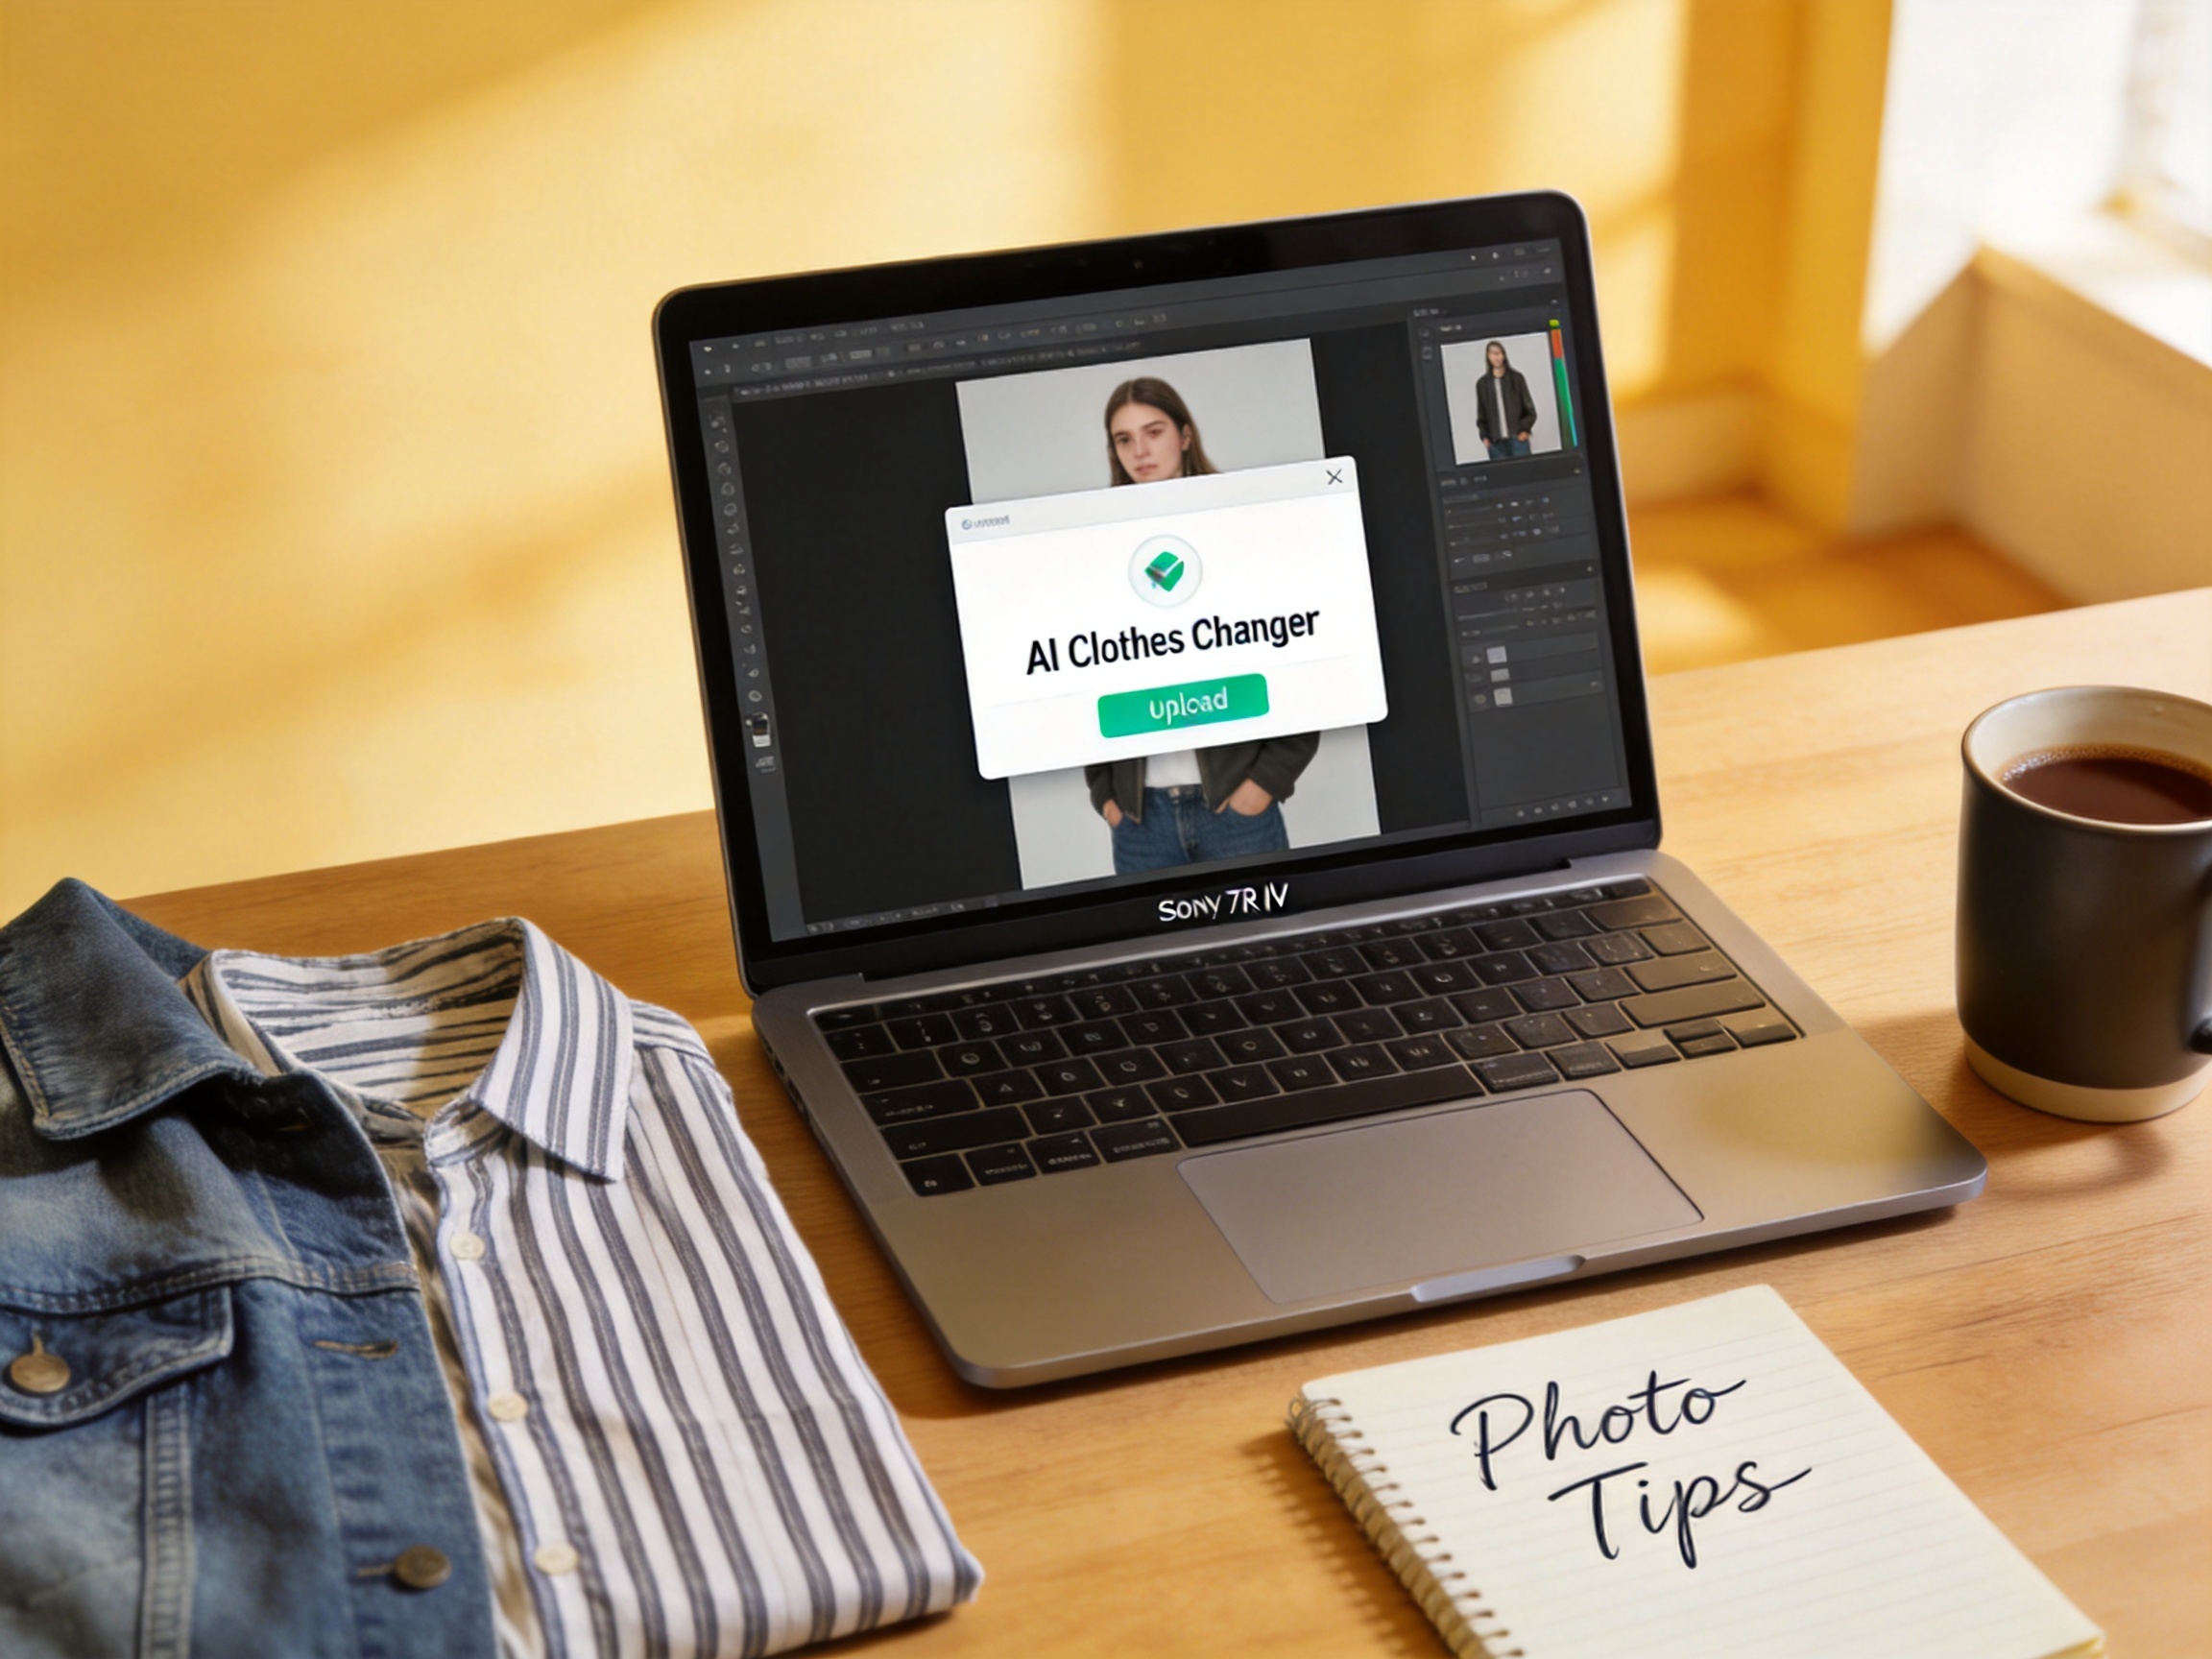
I've tested seven AI clothes changers this year, and the number one reason people get bad results isn't the tool — it's the photo they upload. An AI clothes changer can only rebuild what it can see. Feed it a dark, cluttered, or half-hidden garment, and even the best model produces a warped mess.
This guide walks through how to use an AI clothes changer step by step: what your upload photo needs, how to generate a realistic swap, and the mistakes I've watched ruin otherwise good results. Follow these photo rules and you'll get consistent outfit changes you can actually publish.
Why the input photo matters more than the tool
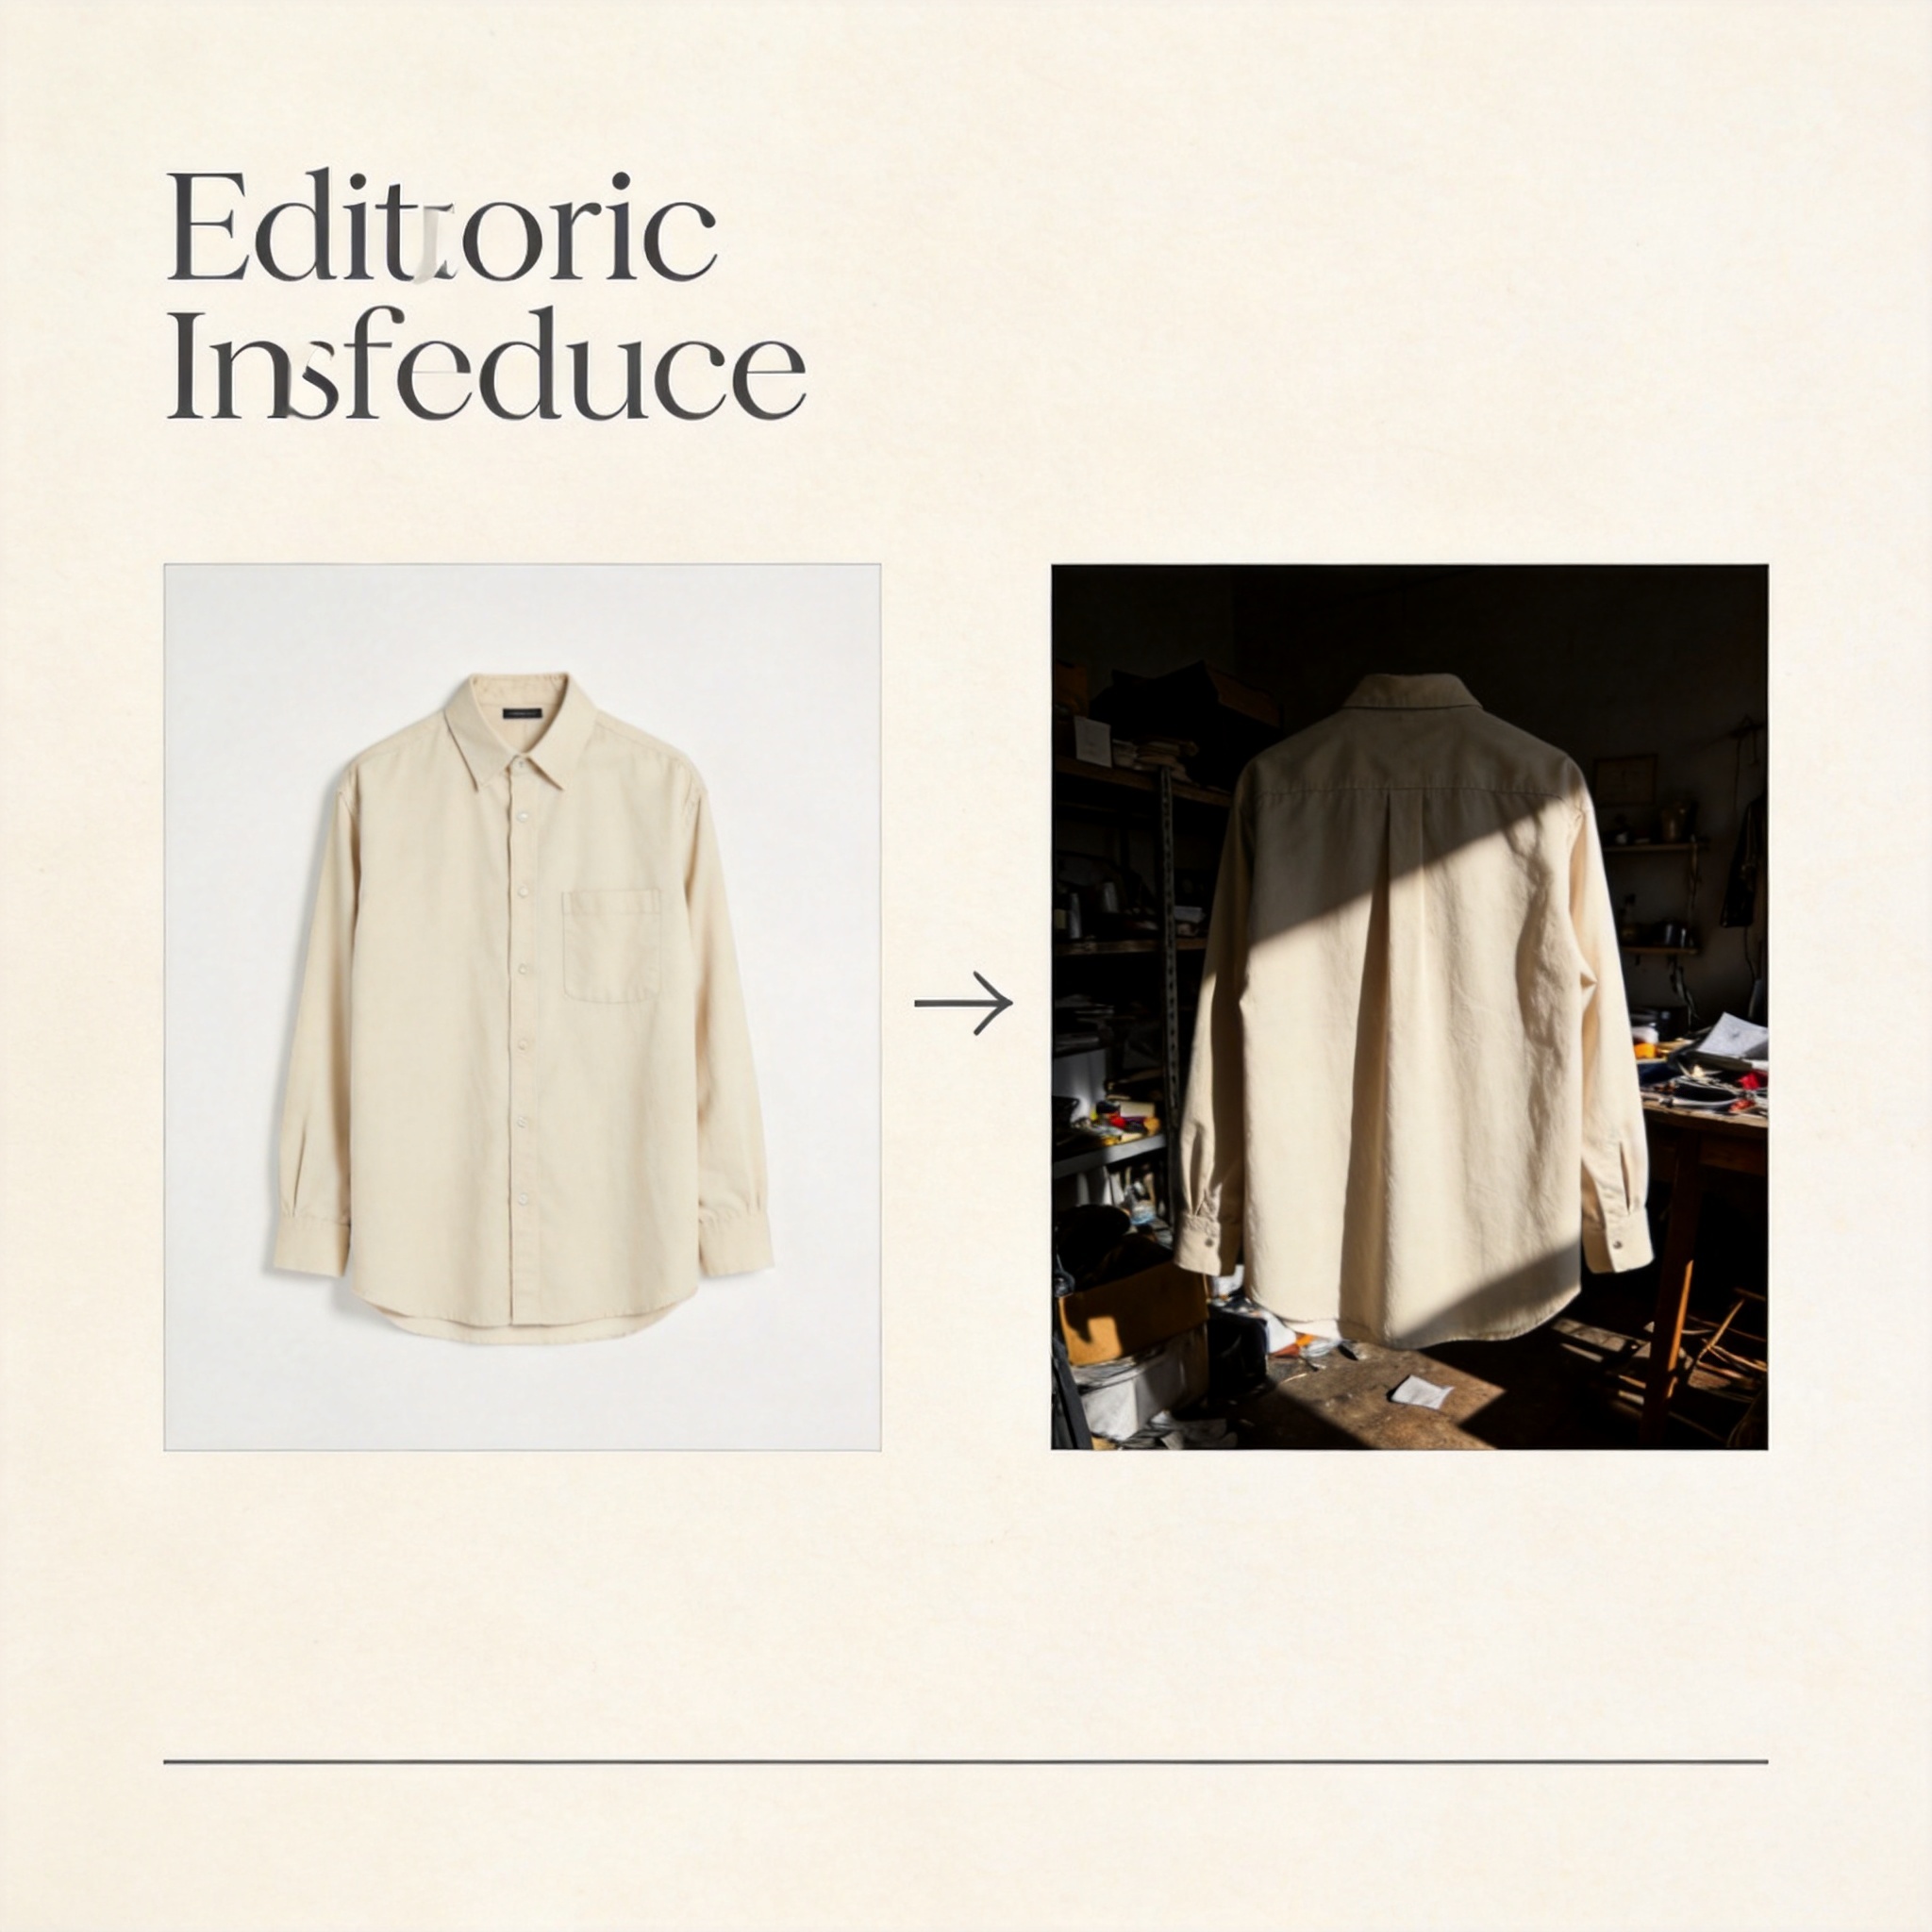
AI outfit swapping works in two stages: the model segments your body and clothing, then regenerates the garment area to match the new style. Both stages depend on how much visual information your upload provides.
In my side-by-side comparison of browser-based AI clothes changers, the same three garments produced wildly different quality across tools — but every tool did dramatically better with a clean, well-lit input. The tool sets the ceiling; your photo determines how close you get to it.
Three things the AI needs from your photo:
- Visible garment edges — where sleeves end, where the waistline sits, where the collar meets the neck
- Even lighting — so fabric folds and shadows are readable, not crushed into black
- Body context — shoulders, arms, and torso visible enough to reconstruct pose and proportion
The 6 photo requirements that actually matter
These are the photo specs I recommend after testing hundreds of uploads:
| Requirement | What it means | Why it matters |
|---|---|---|
| **Full garment visible** | No cropped sleeves or hidden waist | AI needs the complete garment silhouette |
| **Clean background** | White or simple solid color | Busy backgrounds confuse segmentation |
| **Good lighting** | Even, no harsh shadows on clothing | Dark areas lose fabric detail |
| **Front-facing pose** | Straight-on, natural stance | Profile or 3/4 poses are harder to reconstruct |
| **High resolution** | At least 800px on the longest side | Low-res = blurry fabric texture |
| **No heavy accessories** | Avoid bags, scarves covering the torso | Obstructions break the garment mask |
For garment-only inputs (flat lays and hanger shots) the rules are the same but simpler — see the white background product photo guide for the standards that also apply here. Most tools document similar upload guidance; this AI try-on upload tutorial from Clothes Changer is a useful cross-reference for the same best practices.
How to use an AI clothes changer: 5-step upload workflow
Step 1: Pick your photo
Choose a recent photo where the clothing you want to swap is fully visible. A clean flat lay or a straight-on full-body shot both work. This is the highest-leverage step — spend 30 seconds picking a good photo and save 10 minutes fixing bad output.
Step 2: Upload
Most tools accept JPG, PNG, and WebP. Upload the original file — screenshots of photos lose resolution and compress fabric detail. If your tool offers it, upload at the highest resolution available.
Step 3: Select the garment or describe it
Two modes exist across tools. Preset mode lets you pick a garment from a gallery. Prompt mode lets you describe the replacement: "cream linen blazer, relaxed fit, white tee underneath, natural wrinkles, soft studio lighting." Prompt mode gives more control but needs specific language.
Step 4: Generate and inspect the edges
Generate one version, then zoom in on the high-risk areas: collars, cuffs, hands, and the waist seam. This is where most failed swaps show themselves — fabric bleeding into skin, warped necklines, or a "pasted-on" look. If an edge looks wrong, regenerate before exporting.
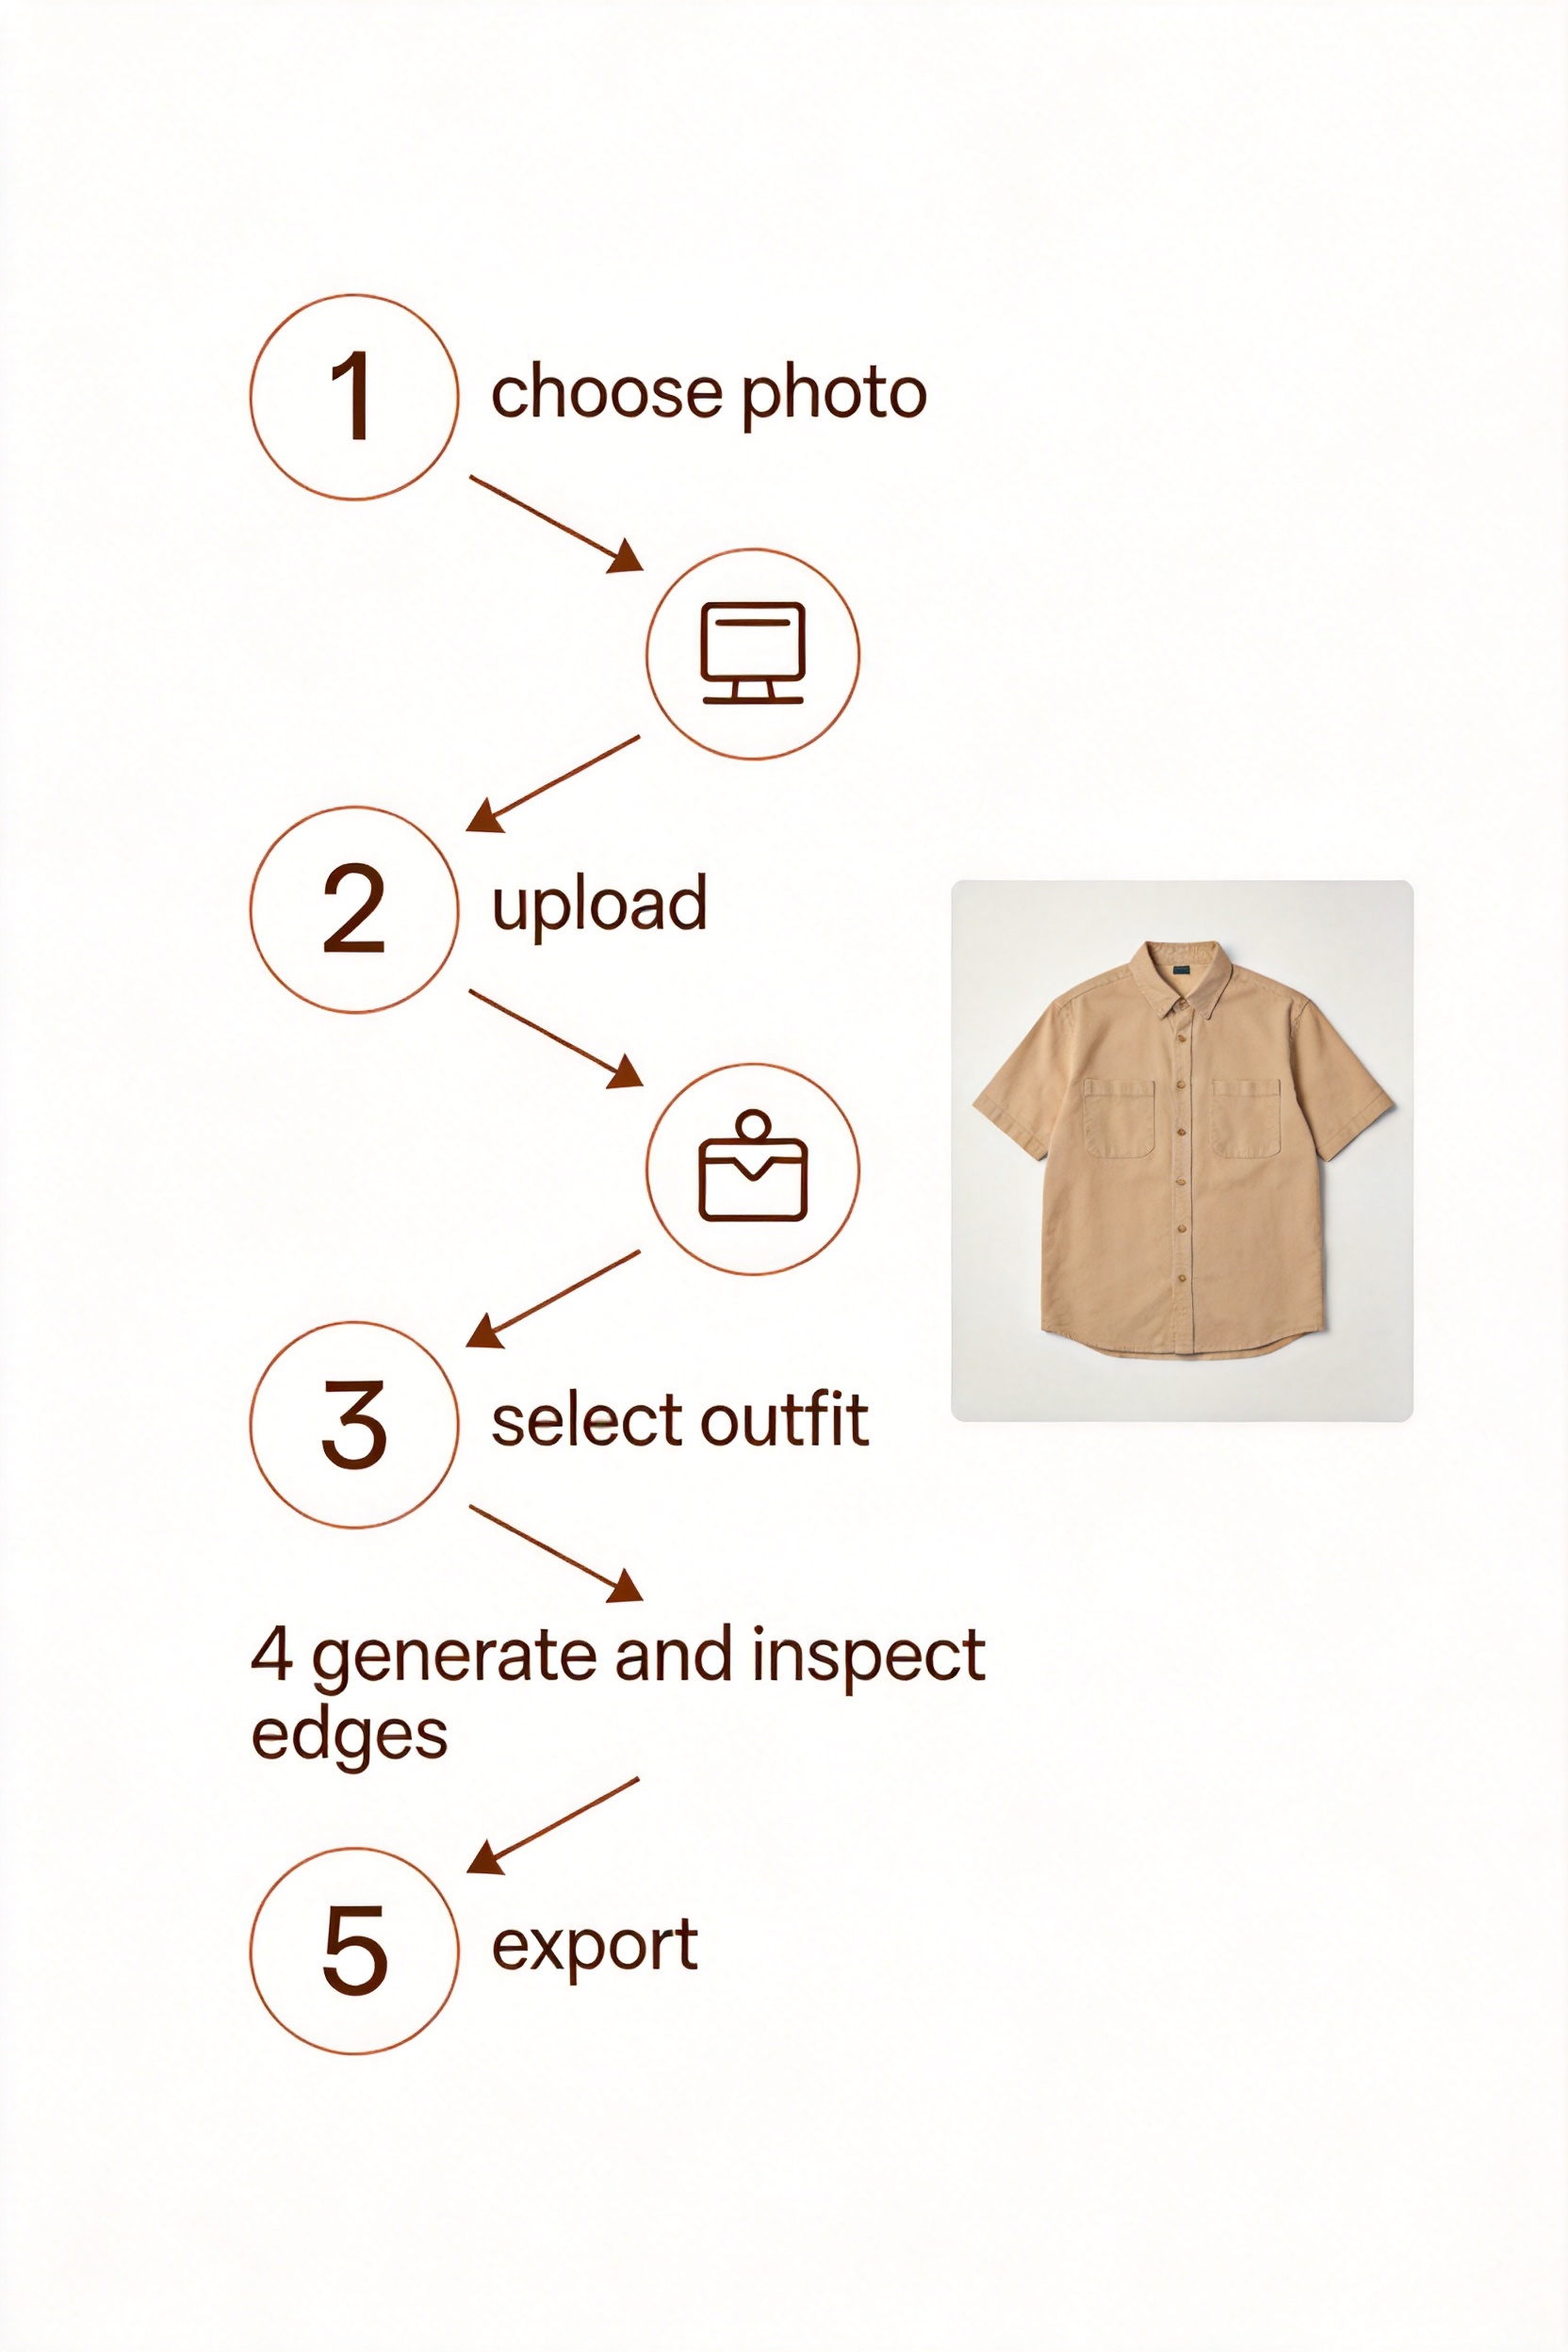
Step 5: Export at full resolution
Export at the tool's highest setting. Some free tiers force a resolution cap or add watermarks — my ranking of free AI clothes changers lists which free tools export clean full-res images.
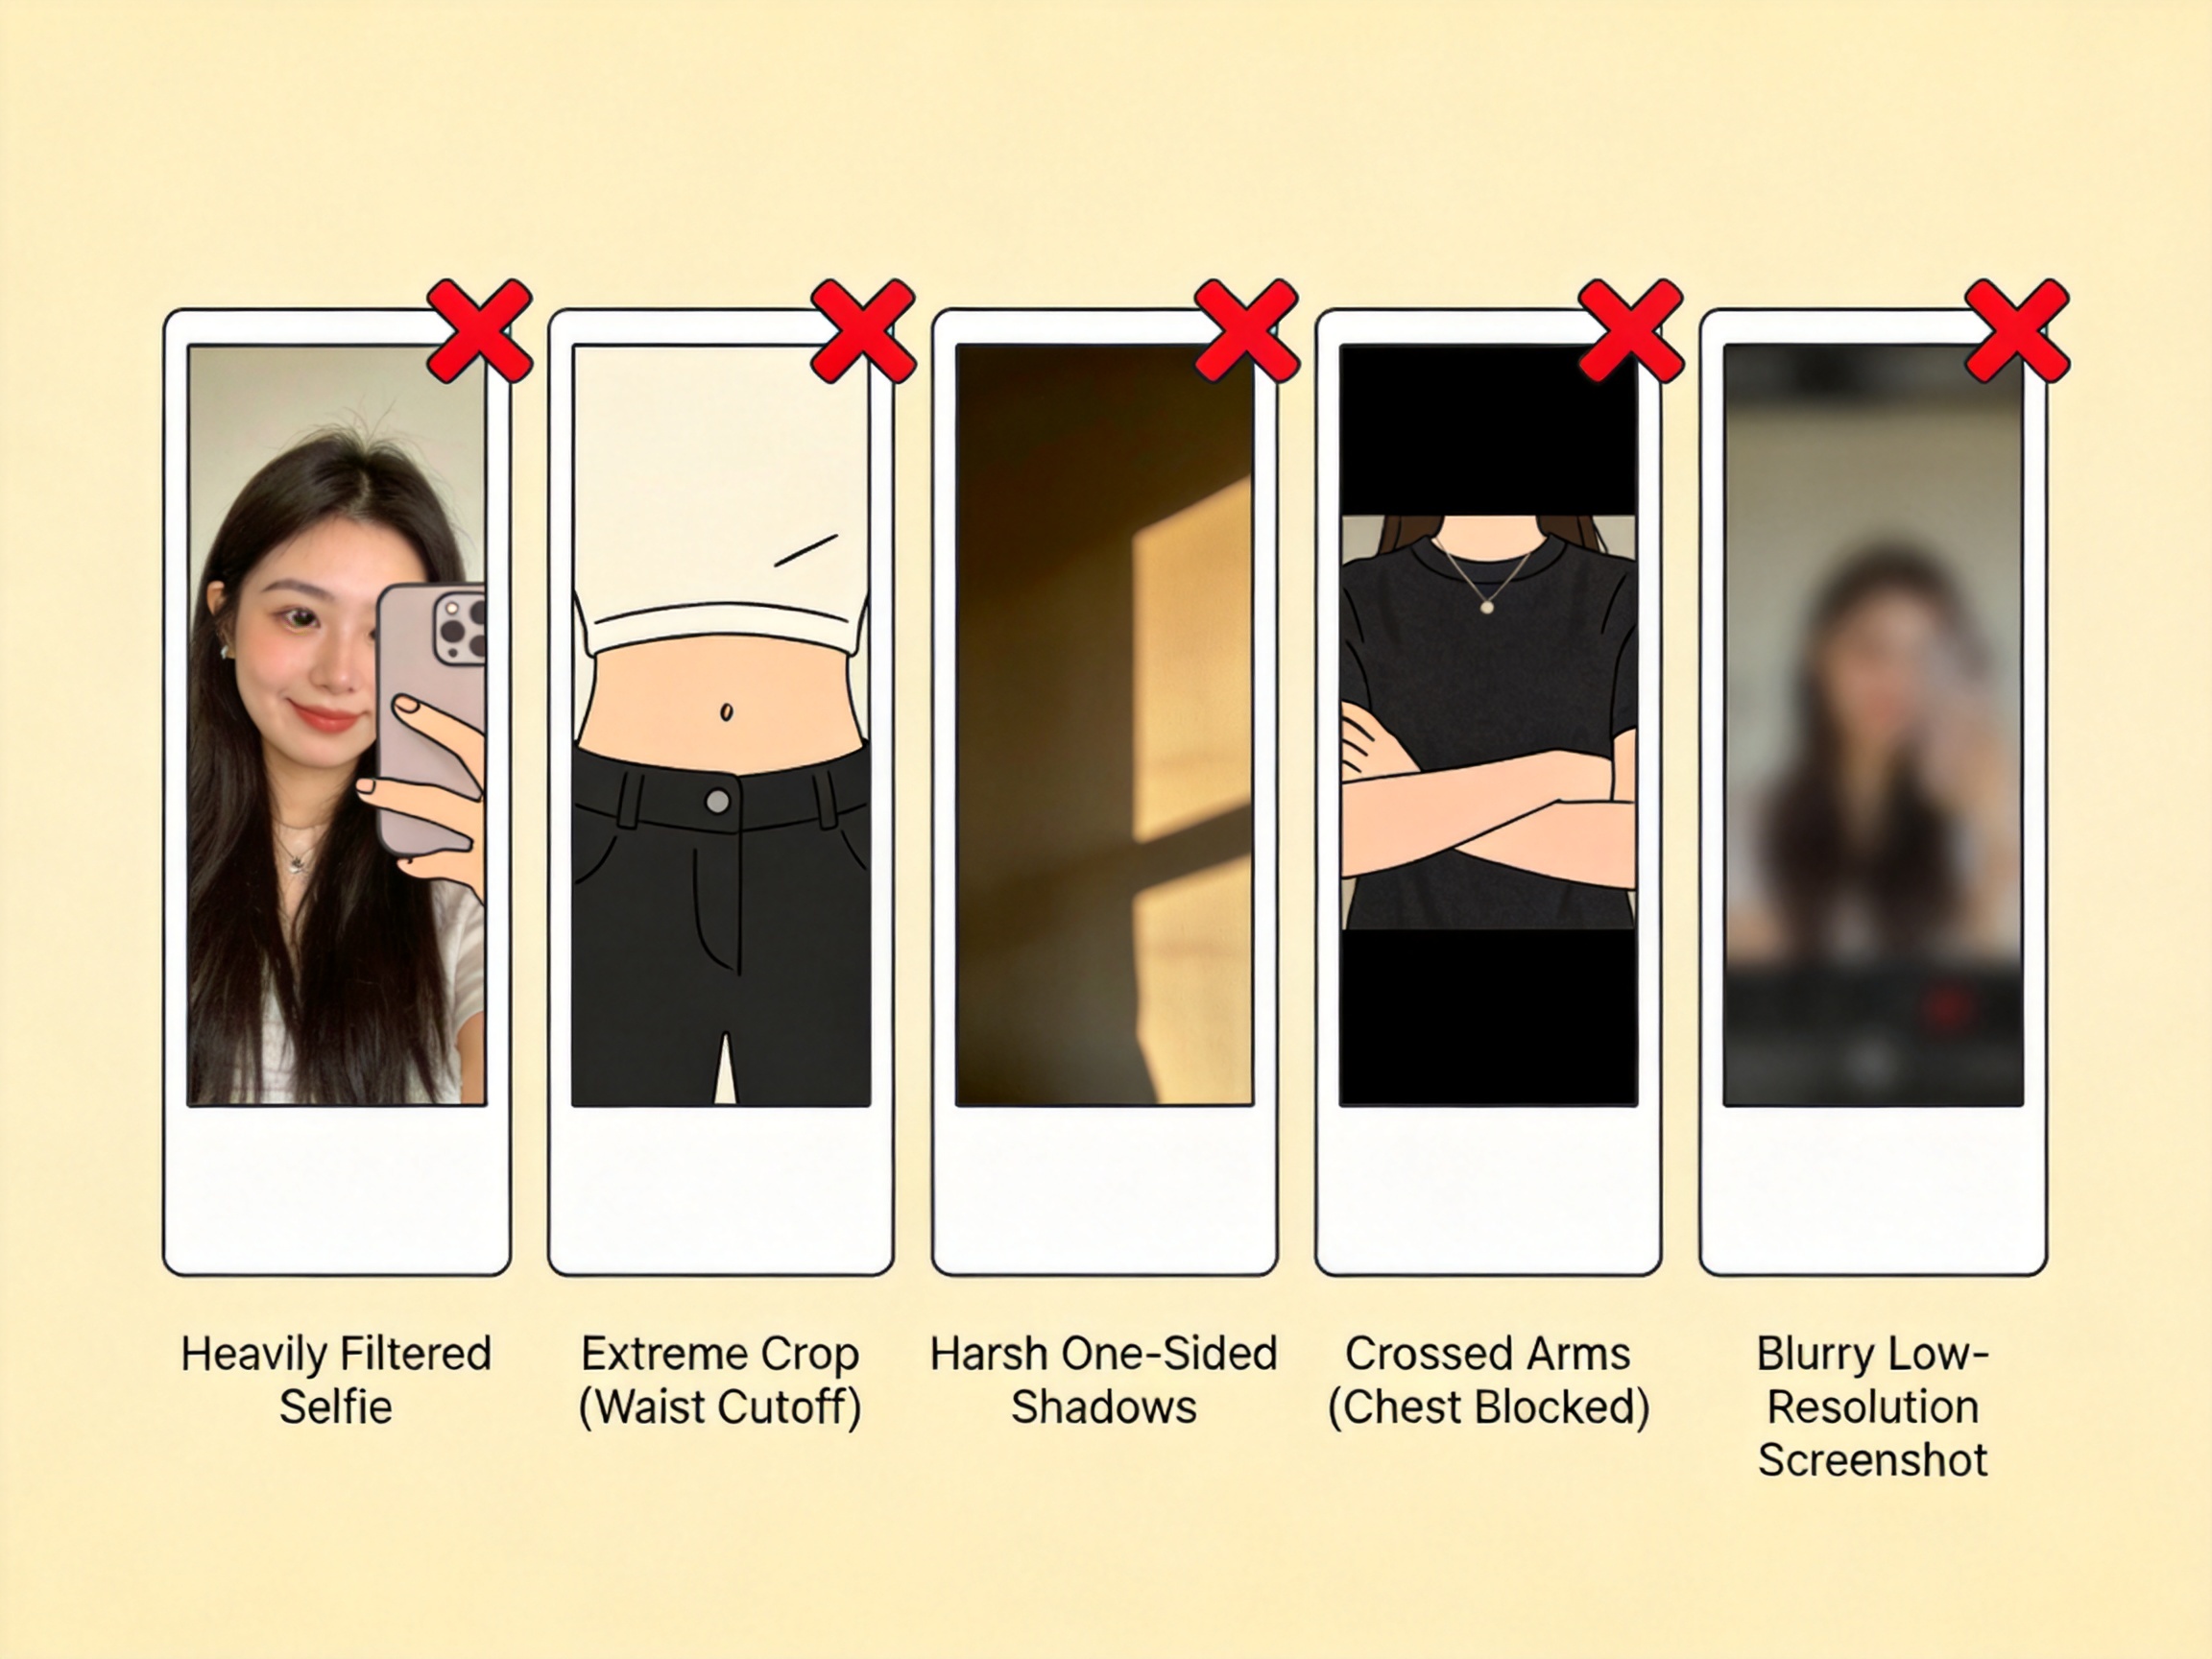
5 common mistakes that ruin AI clothes changer results
- Heavily filtered photos — Instagram filters shift colors and remove fabric texture the AI needs. Use the original.
- Extreme crops — a photo cropped at the waist gives the model no torso context. Step back.
- Harsh shadows — hard studio shadows on one side of the body make the AI guess the other side. Diffuse light is better.
- Arms crossed over the chest — obstructions break the garment mask and produce garbled fabric.
- Very low resolution screenshots — if the source is under 600px, the result will be blurry no matter how good the tool is.
Batch mode: changing multiple outfits in one session
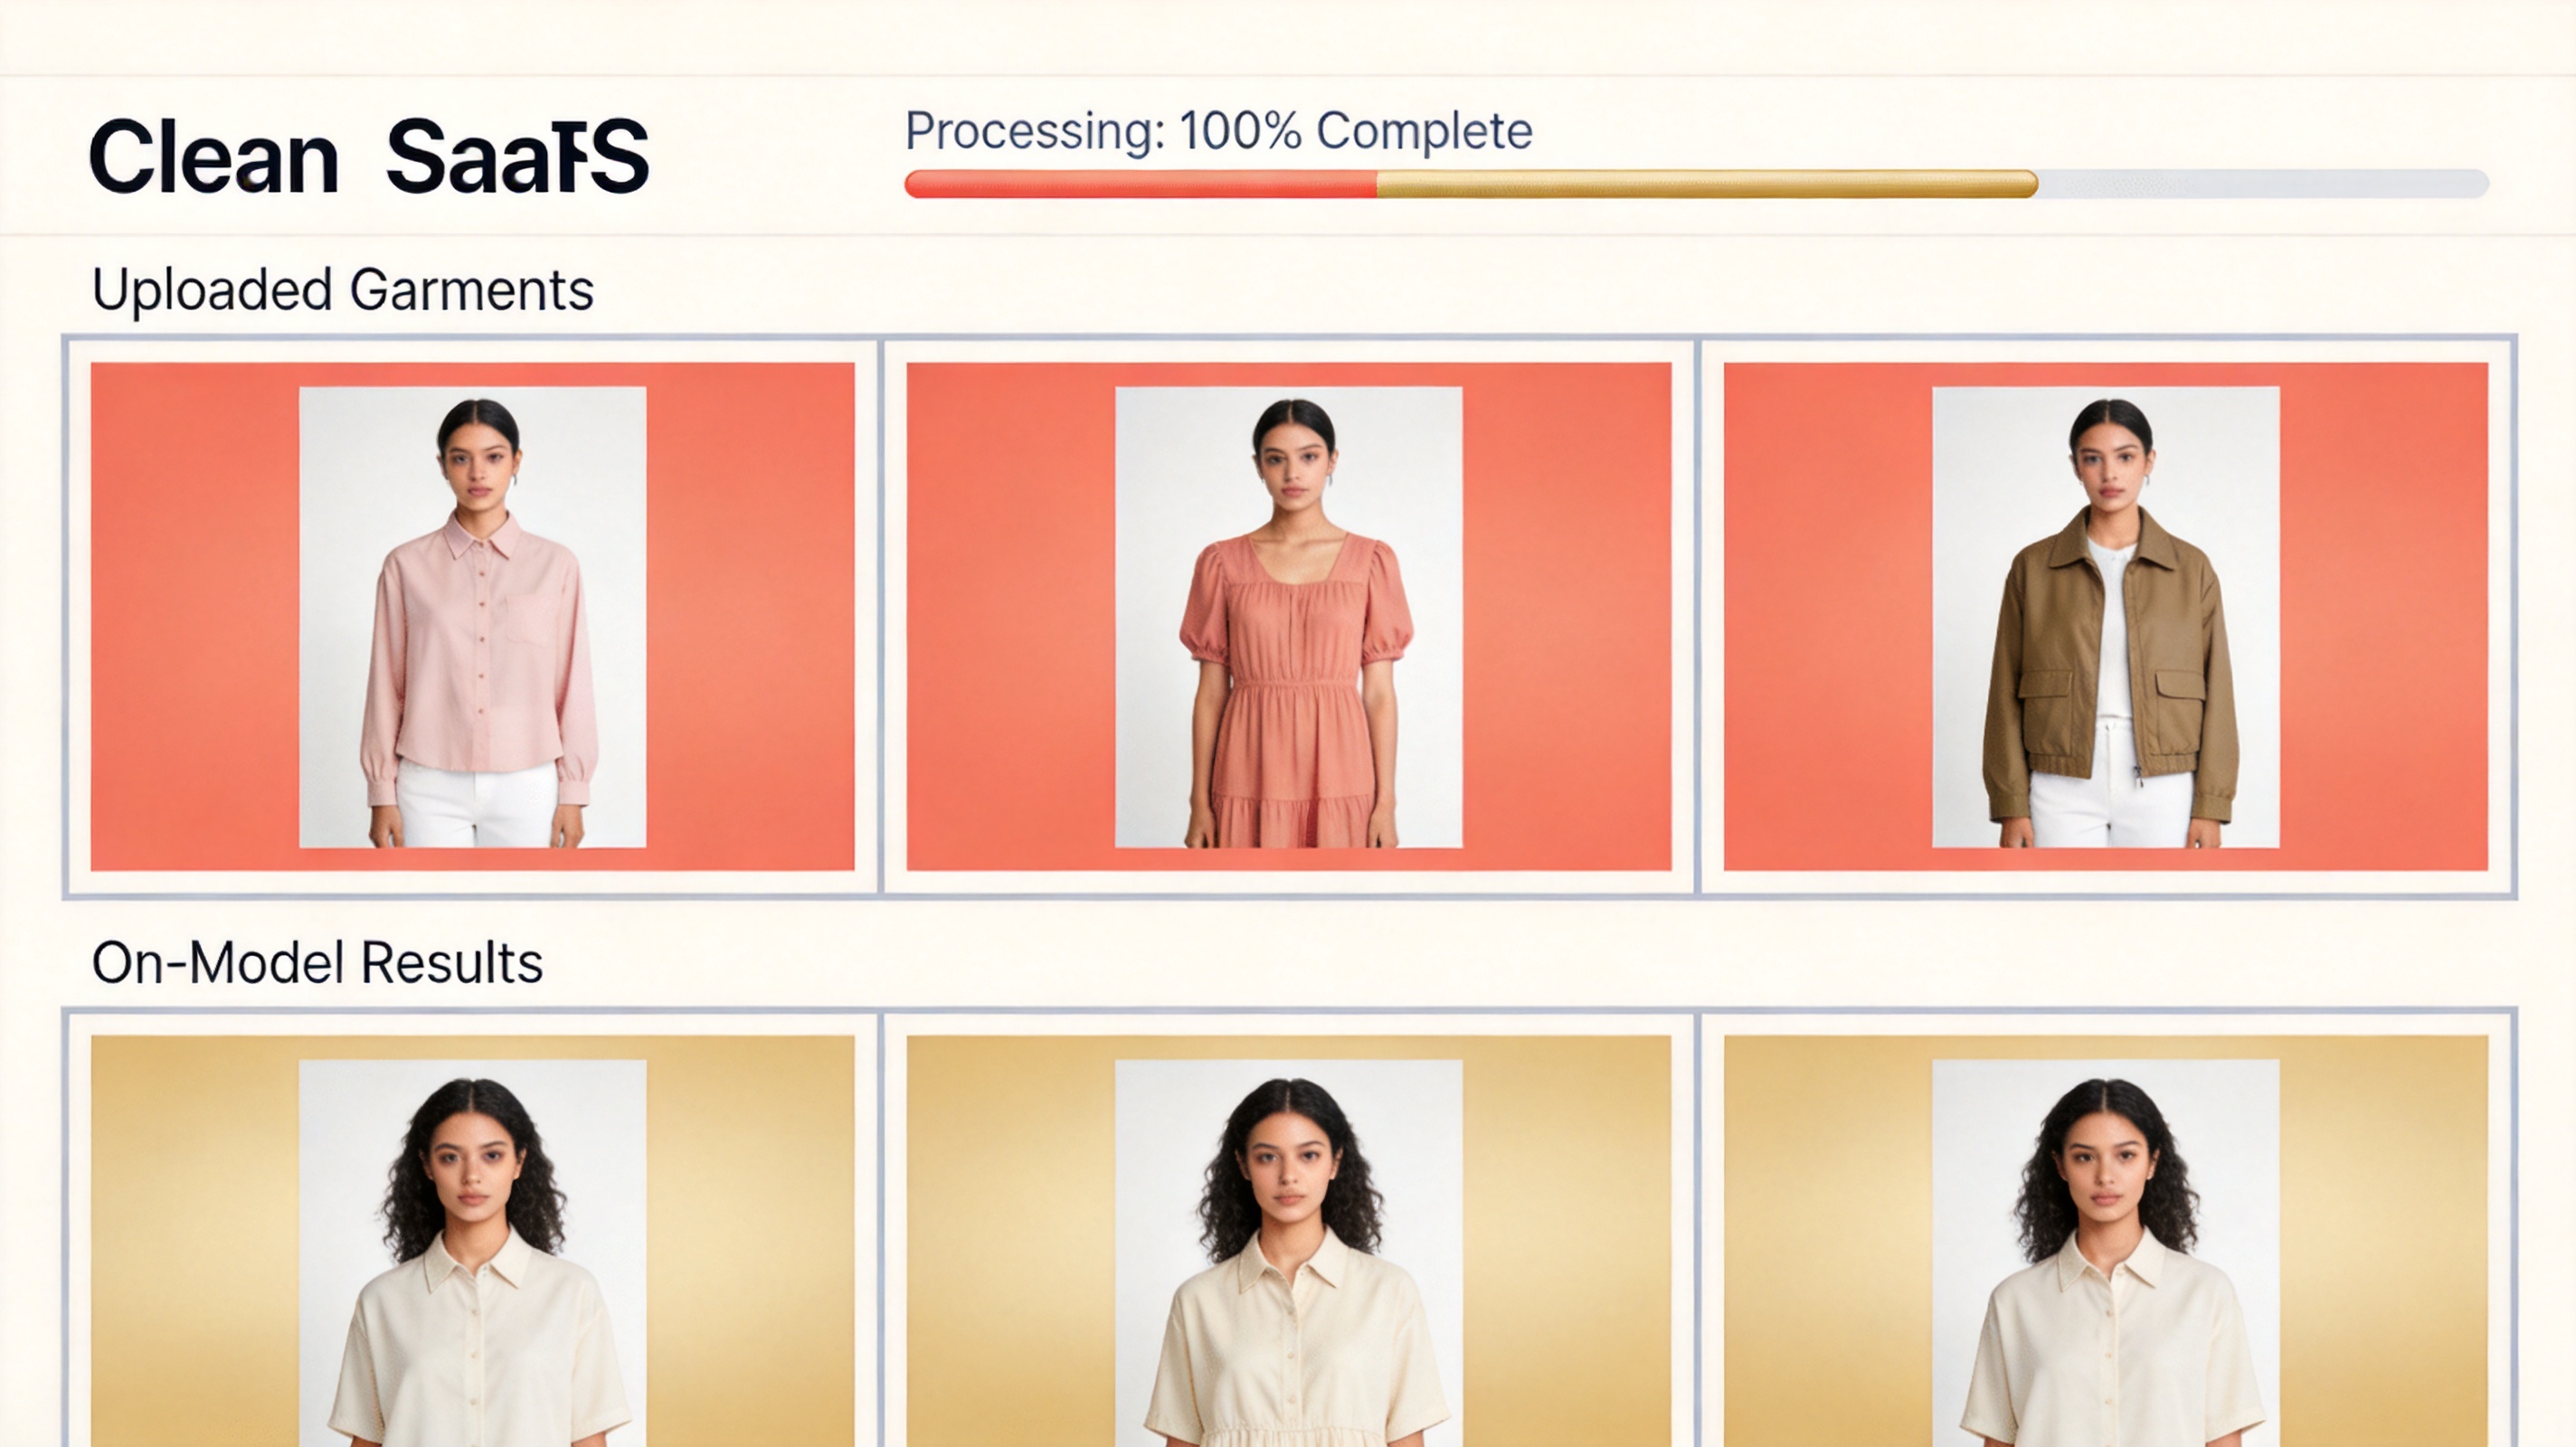
Once your single-photo workflow is solid, batch processing is where AI clothes changers save real time. The process:
- Upload a consistent set of garment photos (same lighting, same background)
- Pick one model preset so output looks consistent
- Run the batch and spot-check every 5th result
- Fix the outliers, export the rest
This is the workflow behind AI fashion model generation for catalog production — consistent model presentation across every SKU. For the distinction between catalog production and shopper-facing previews, see AI clothes changer vs virtual try-on.
FAQ
What kind of photo works best for an AI clothes changer?
A front-facing, well-lit photo with the full garment visible and no heavy accessories. Clean backgrounds help the model segment the clothing accurately. High resolution matters more than most people expect — blurry fabric texture is the most common failure.
Can I use a photo of clothes instead of a photo of a person?
Yes. Flat lays and hanger shots work well with tools that support garment-only inputs. The output is an on-model image generated from the garment photo — this is the core workflow for AI fashion model generation.
Do I need to sign up to use an AI clothes changer?
Some tools work without any sign-up. My no-sign-up AI clothes changer test covers which free tools let you upload and download without an account.
Why do my results look "pasted on"?
Usually because the input photo has poor edge visibility — cropped garments, crossed arms, or heavy shadows. Regenerate with a cleaner photo before blaming the tool. Inspect collars, cuffs, and the waist seam in the output.
How do I get consistent results across multiple photos?
Use the same model preset, similar lighting, and the same background for every input. Batch mode enforces this consistency — that's how ecommerce teams keep catalog output uniform.
Verdict
An AI clothes changer is only as good as the photo you upload. Get the input right — full garment, clean background, even lighting, decent resolution — and most tools will surprise you. Get it wrong and no tool can save you. Spend 30 seconds choosing a better photo, and you'll spend far less time regenerating failed swaps.
For a full breakdown of which tools handle which inputs best, start with my ranking of the best AI clothes changers.
Ready to speed up your image workflow?
Generate AI fashion models, product photos, and virtual try-on images in minutes.