
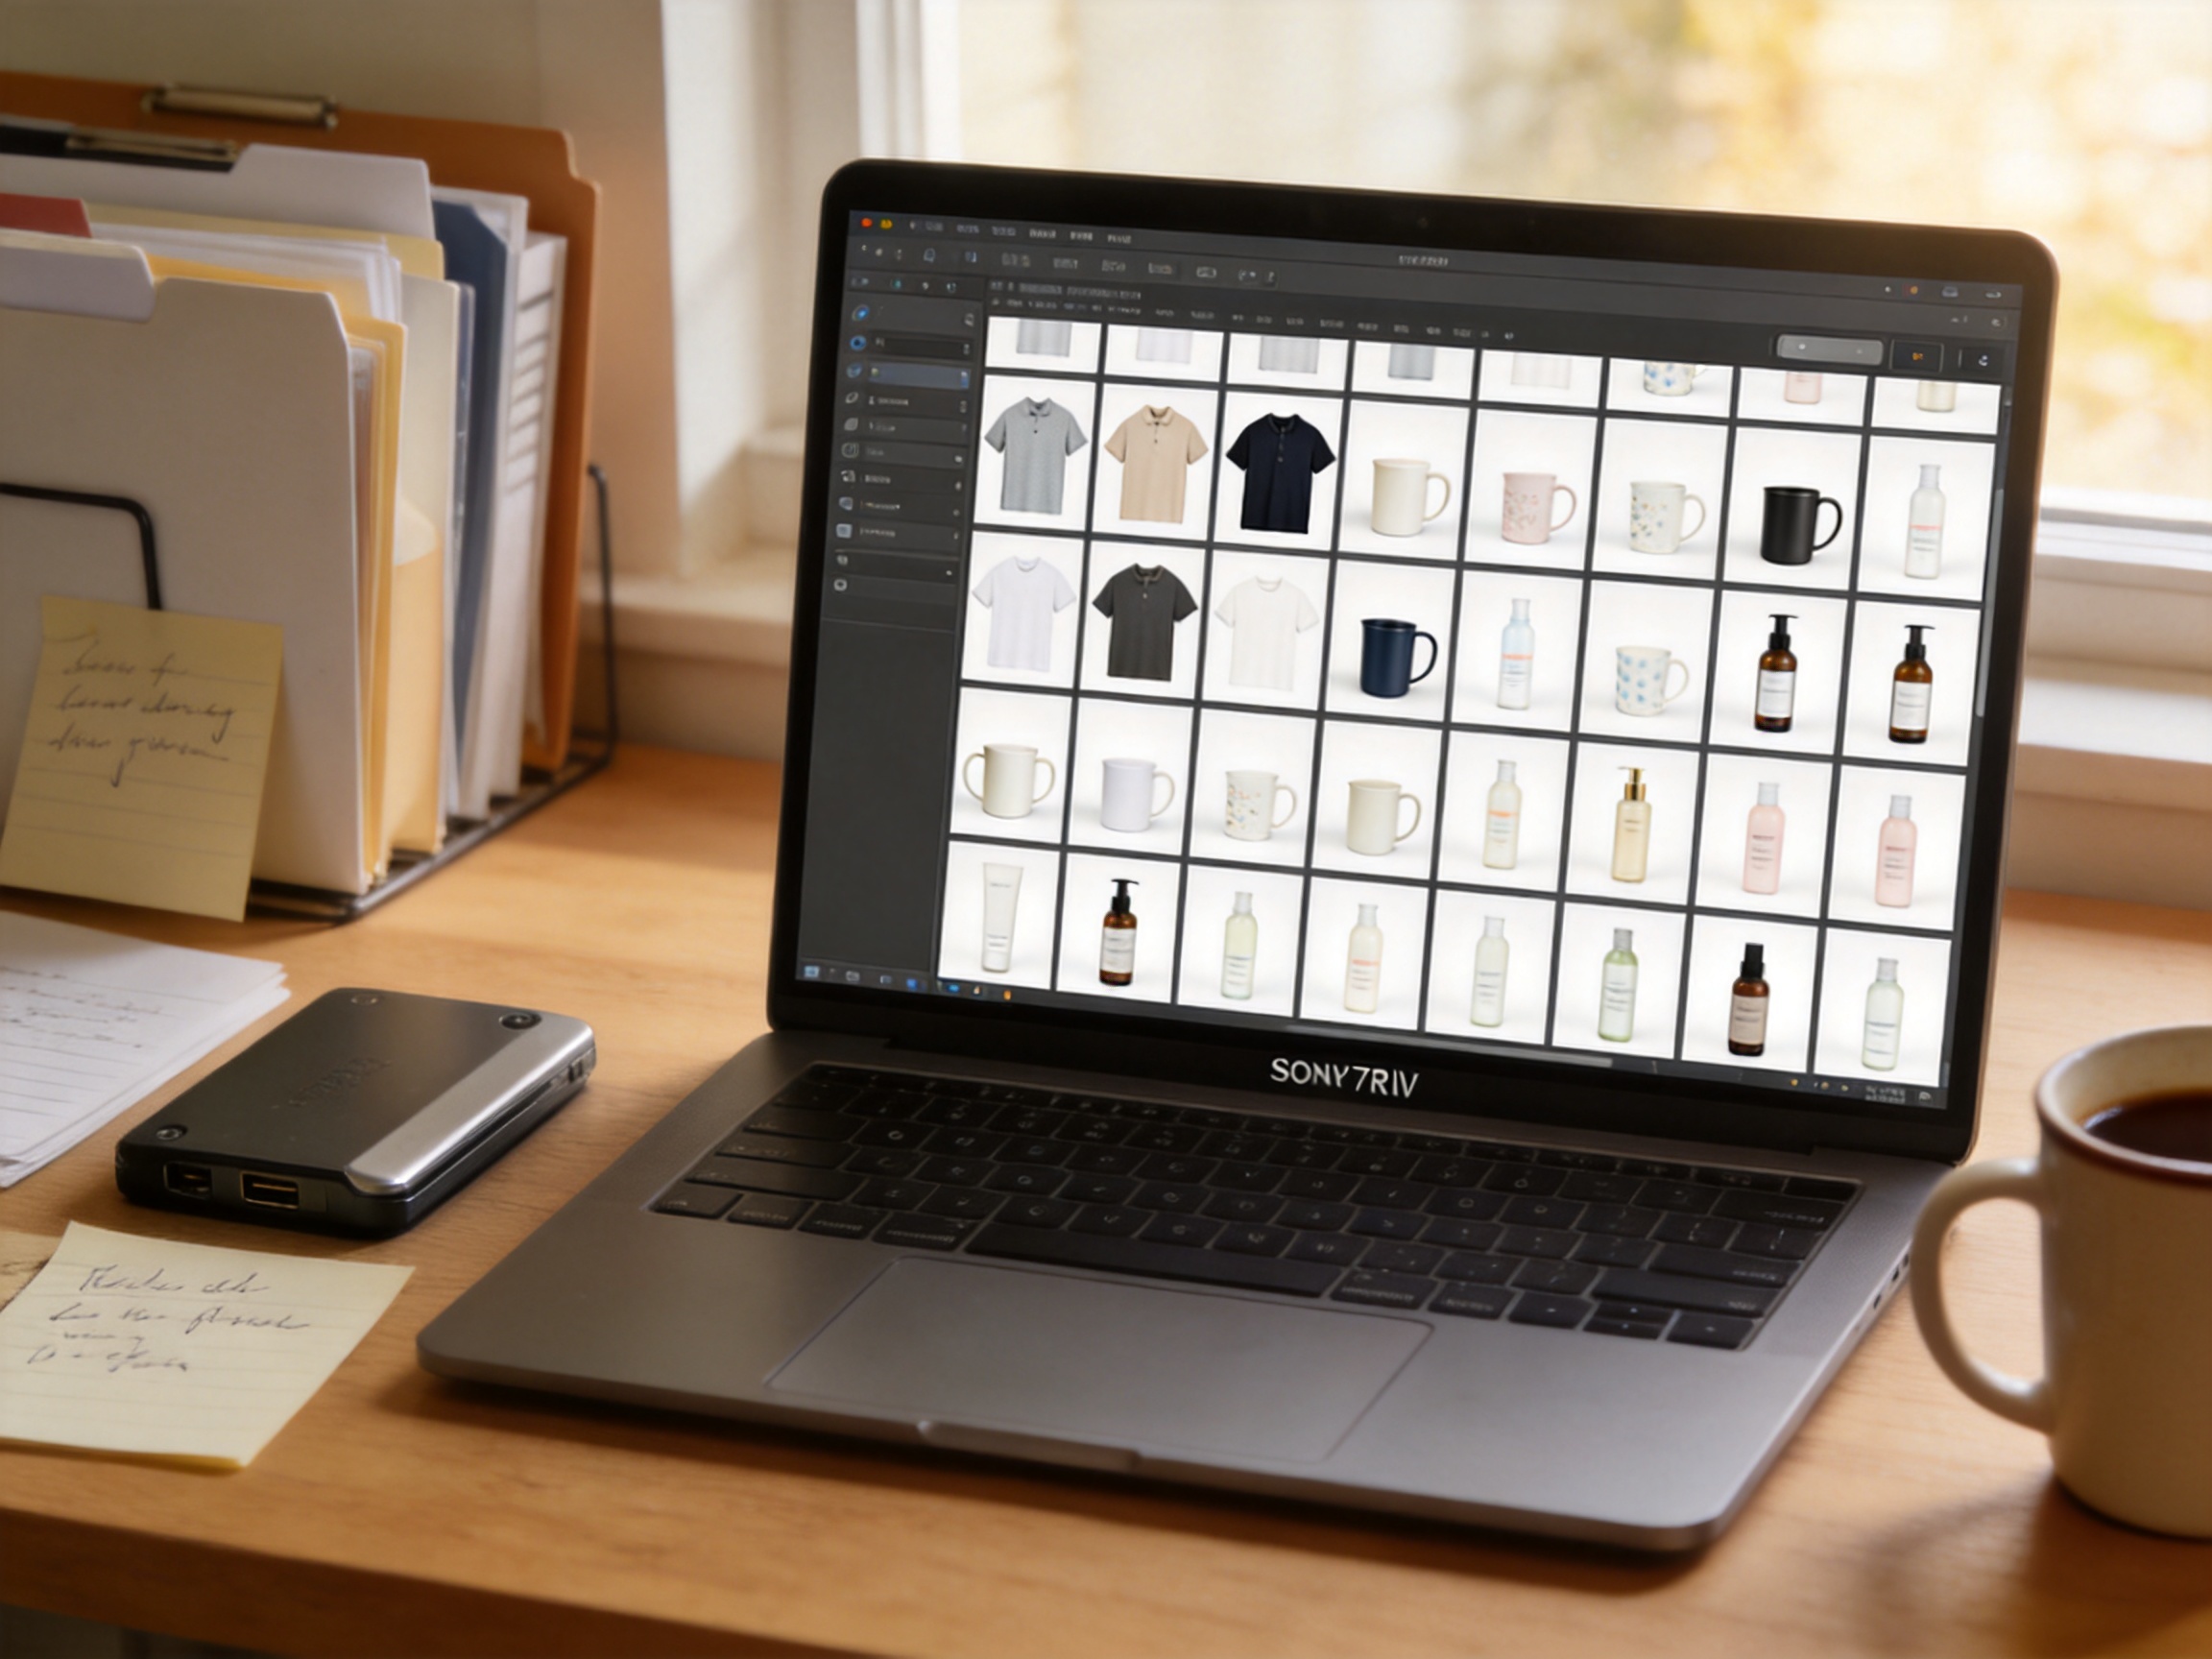
I used to spend entire weekends hunched over an image editor, removing backgrounds one product at a time. Then I pushed a 500-SKU catalog through a bulk product photo editor in a single afternoon — and the output was more consistent than anything I'd ever hand-edited.
If you're an ecommerce seller drowning in product images, this is the exact workflow I use to go from raw phone photos to marketplace-ready images without a studio, a retoucher, or a $5-per-image outsourcing bill. I'll walk through the five steps, the tools worth using, and the mistakes that quietly ruin a batch.
Why single-image editing doesn't scale
Manual editing falls apart at scale for three reasons, and they compound fast.
Time. Removing a background by hand takes 10–15 minutes per image when you factor in edge cleanup. For 500 products that's 85–125 hours — two to three weeks of full-time work for something that should take an afternoon.
Cost. Outsourcing background removal runs $2–5 per image. A 500-SKU catalog is $1,000–2,500, and you'll still pay extra when the vendor returns inconsistent edges that need another pass.
Consistency. The silent killer. When you hand-edit 500 images, your background color, crop, and lighting drift from one image to the next. On Amazon, a background that reads RGB 254,254,254 instead of a true 255,255,255 can get a listing flagged. A bulk editor applies the exact same profile to every image, so consistency is automatic.
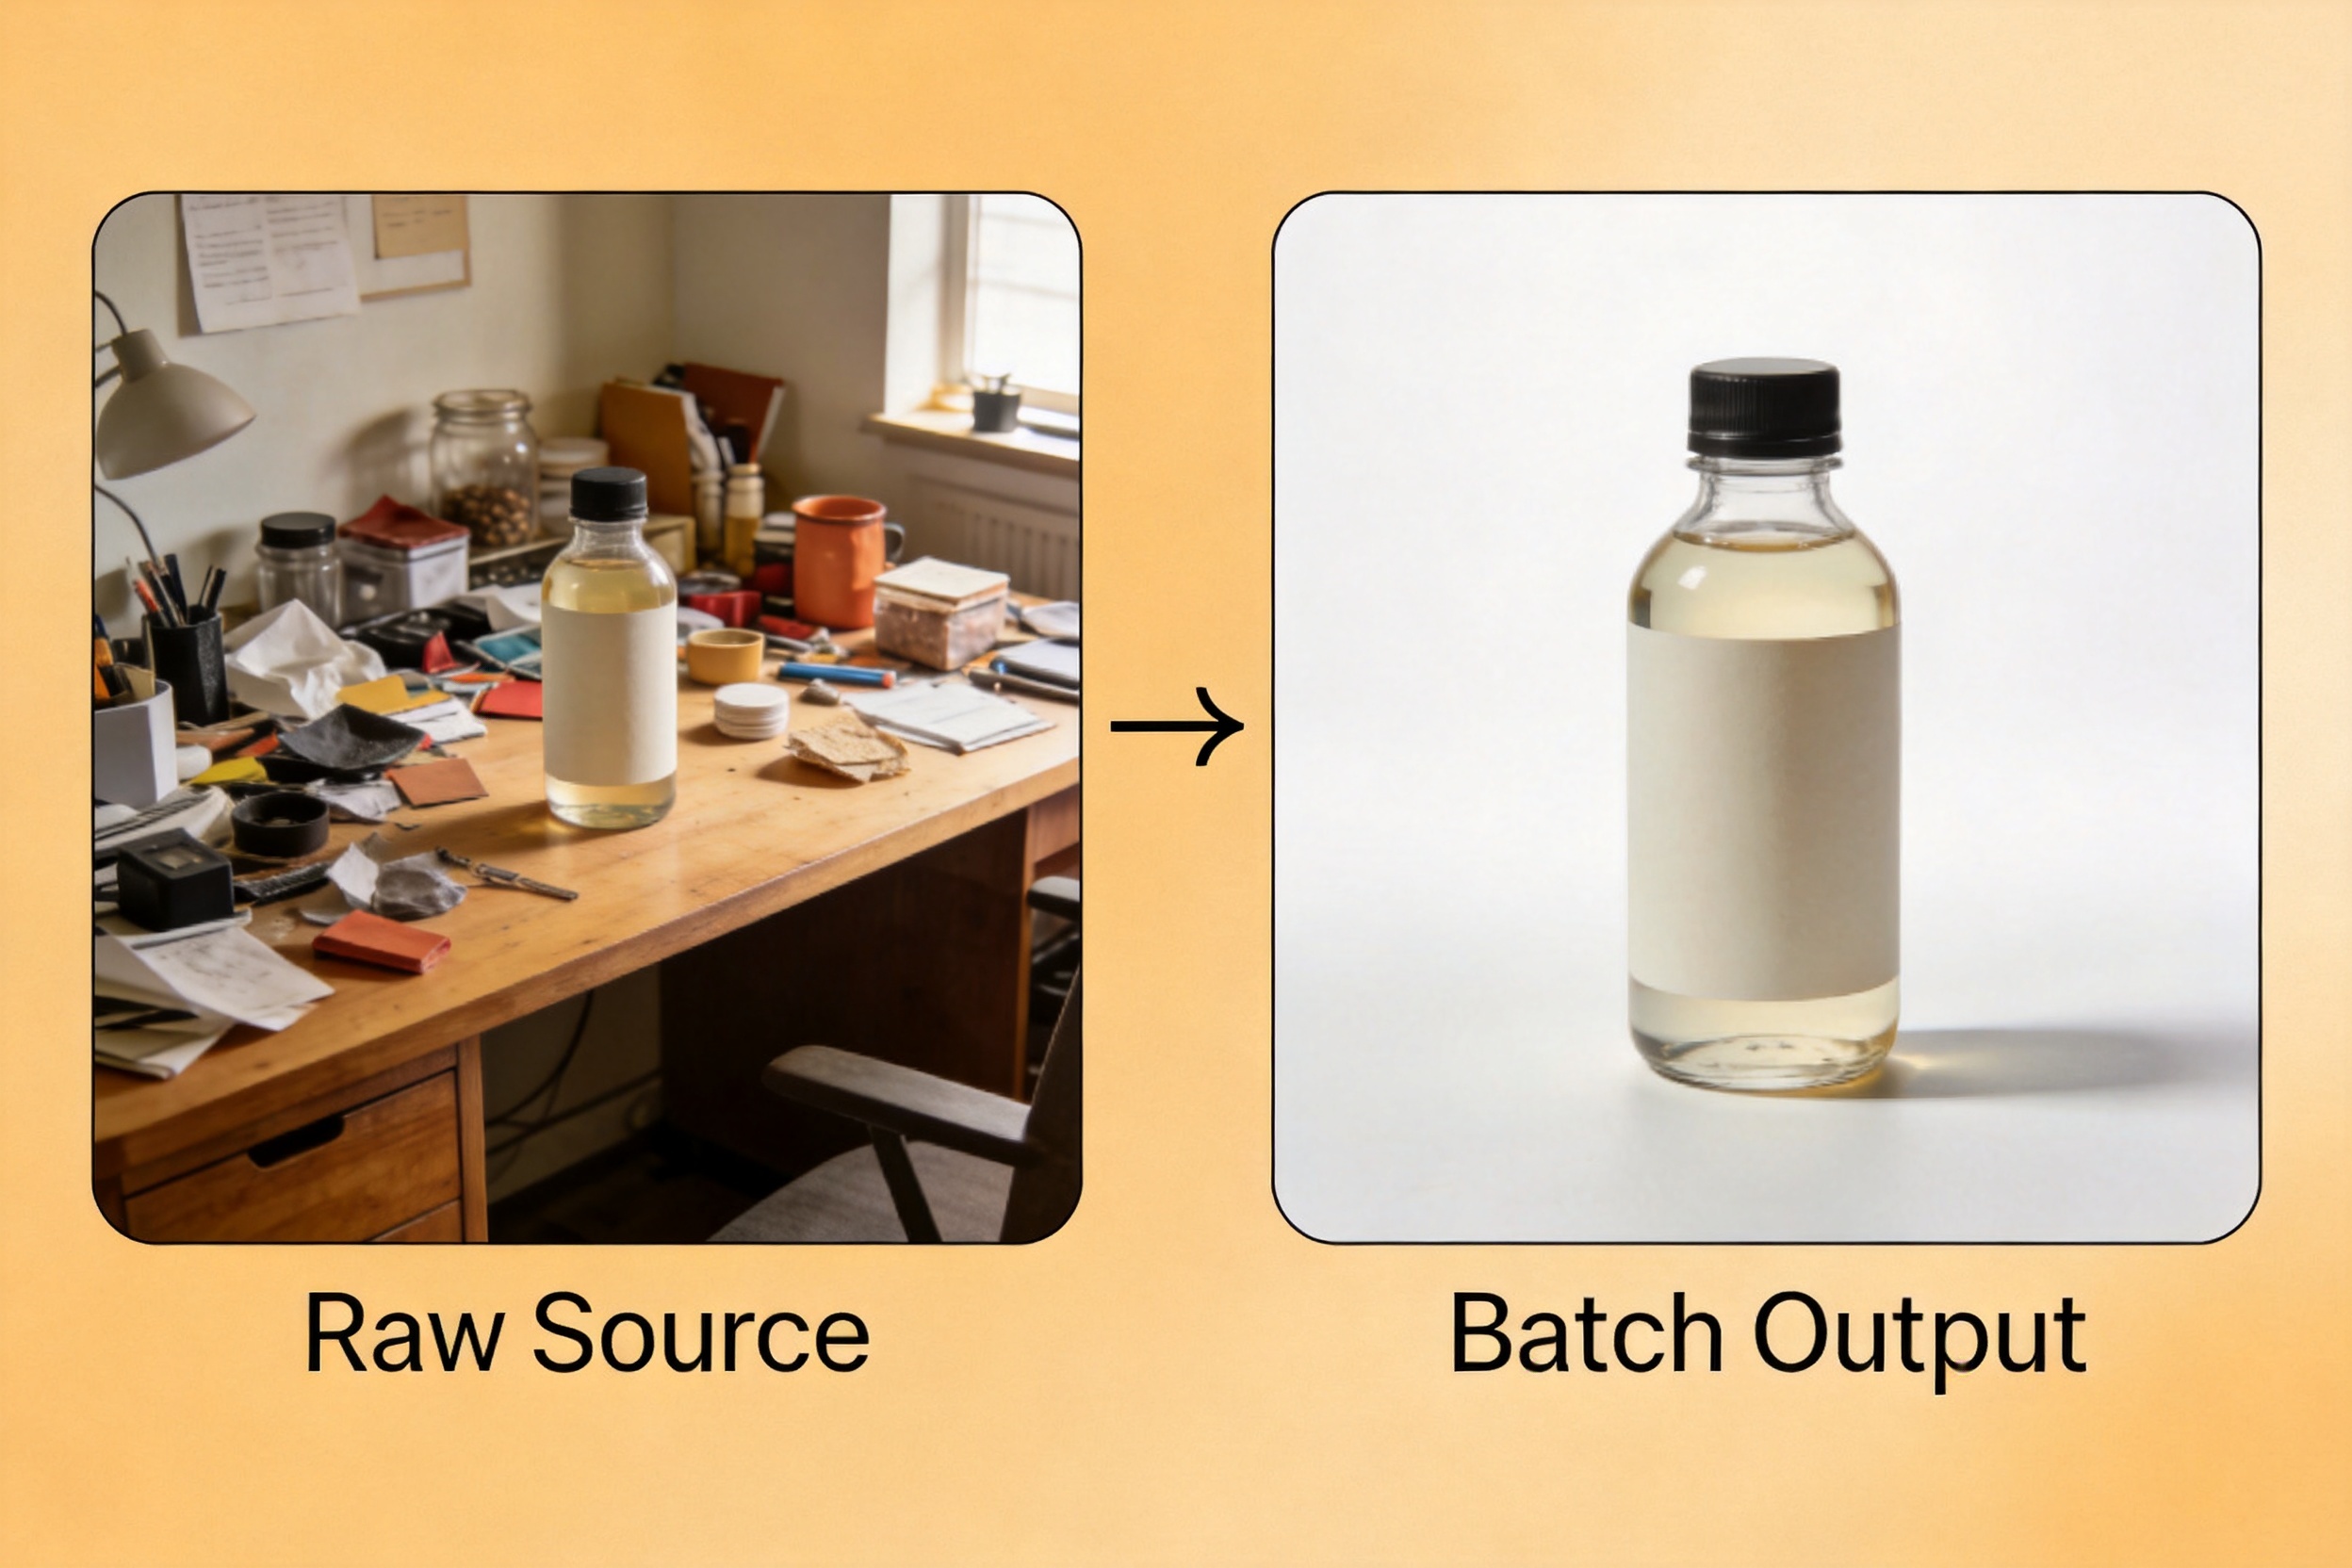
What a bulk product photo editor actually does
Don't confuse a bulk editor with a fancier version of single-image tools. A real bulk product photo editor does four things that change how you work:
- Batch upload — drag a whole folder, not one file at a time
- Batch profile application — apply the same background, crop, and resolution to every image in one pass
- Batch export — download everything in a zip, already named and sized for each marketplace
- Consistency guarantees — one profile means 500 images come out visually identical
The test is simple: if a tool makes you open each image to confirm a result, it's not a bulk editor — it's a single-image tool with a queue.
Step 1: Standardize your source photos
Garbage in, garbage out. Batch processing magnifies whatever is already wrong in your source photos, so you need a repeatable shooting setup before you touch any software.
- Lighting: use the same light source and position for every shot. Natural window light at 90° to the product is the cheapest reliable option.
- Background: shoot on a plain surface — white or light gray foam board. Textured surfaces create fake edges the AI has to guess through.
- Angle: keep one angle per category. Flat lay for apparel, straight-on for bottles, three-quarter for electronics.
- Naming: use a consistent convention like `SKU_color_angle.jpg` so the batch export stays traceable back to your inventory.
You don't need a professional camera. An iPhone 13 or newer with steady light is enough for marketplace images — the bulk editor does the heavy lifting downstream.
Step 2: Choose the right bulk editor
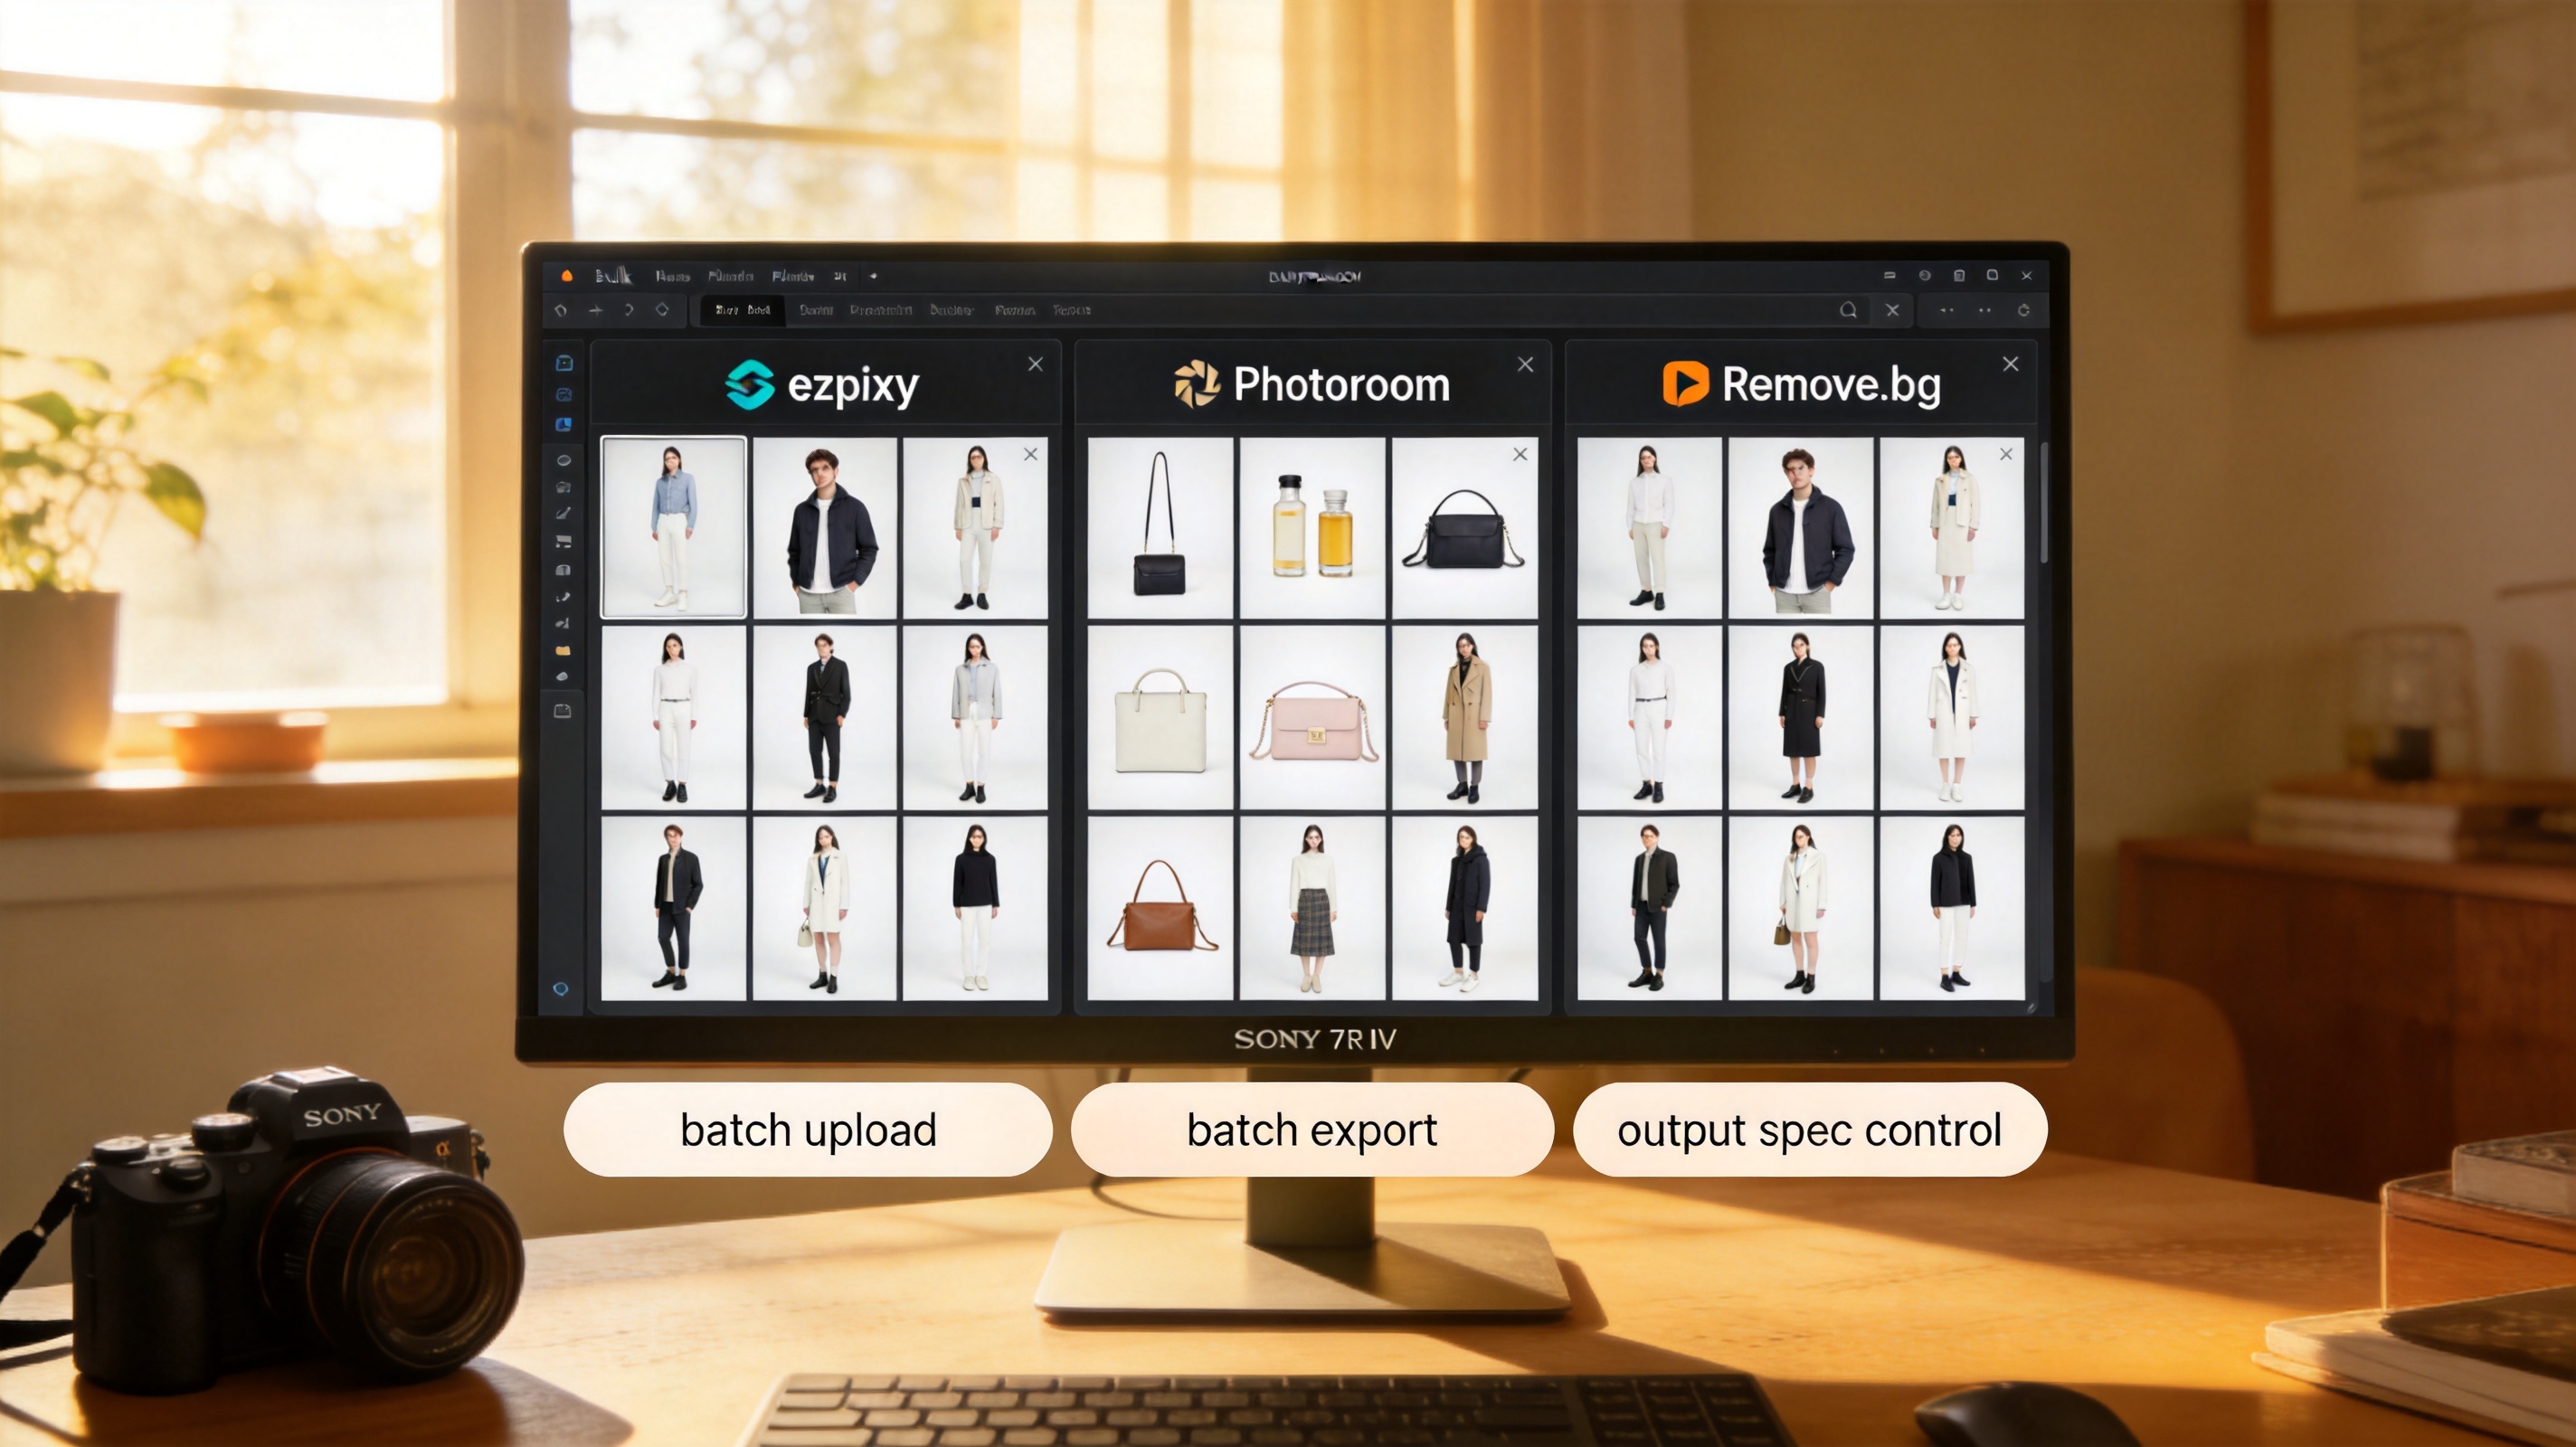
Not every AI photo tool handles batches well. Here's how the common options compare for bulk work:
| Tool | True batch upload | Batch export | Output spec control | Best for |
|---|---|---|---|---|
| ezpixy | Yes | Yes (zip) | Background, crop, resolution | Apparel + full catalogs |
| Photoroom | Yes | Yes | Background, size presets | Mixed product types |
| Pixelcut | Yes | Yes | Background, template | Social + marketplace |
| Remove.bg | Yes (API/desktop) | Yes | Background only | Single-tool background removal |
| Canva | Limited | Yes | Templates | Marketing graphics, not catalogs |
The key difference is batch profile persistence: can you save a configuration and apply it to a future batch the same way? For recurring catalogs (new arrivals every month), that's the feature that actually saves time.
Step 3: Set up your batch profile
Before you process anything, lock in your output spec. Each marketplace wants something slightly different, and fixing this after export doubles the work.
| Platform | Background | Resolution | Crop |
|---|---|---|---|
| Amazon | Pure white RGB 255,255,255 | 2000×2000+ | Square 1:1 |
| Shopify | White or light gray | 2048×2048 | Square 1:1 |
| Google Shopping | White or light gray | 1000×1000+ | Square 1:1 |
| Etsy | White or styled | 2000×2000 | Square 1:1 |
| eBay | White or light gray | 1600×1600+ | Square 1:1 |
Set background, resolution, and crop once, save it as a named profile, and reuse it for every batch. If you sell on Amazon, see Amazon's official image requirements for the full spec — the background color tolerance is stricter than most sellers realize.
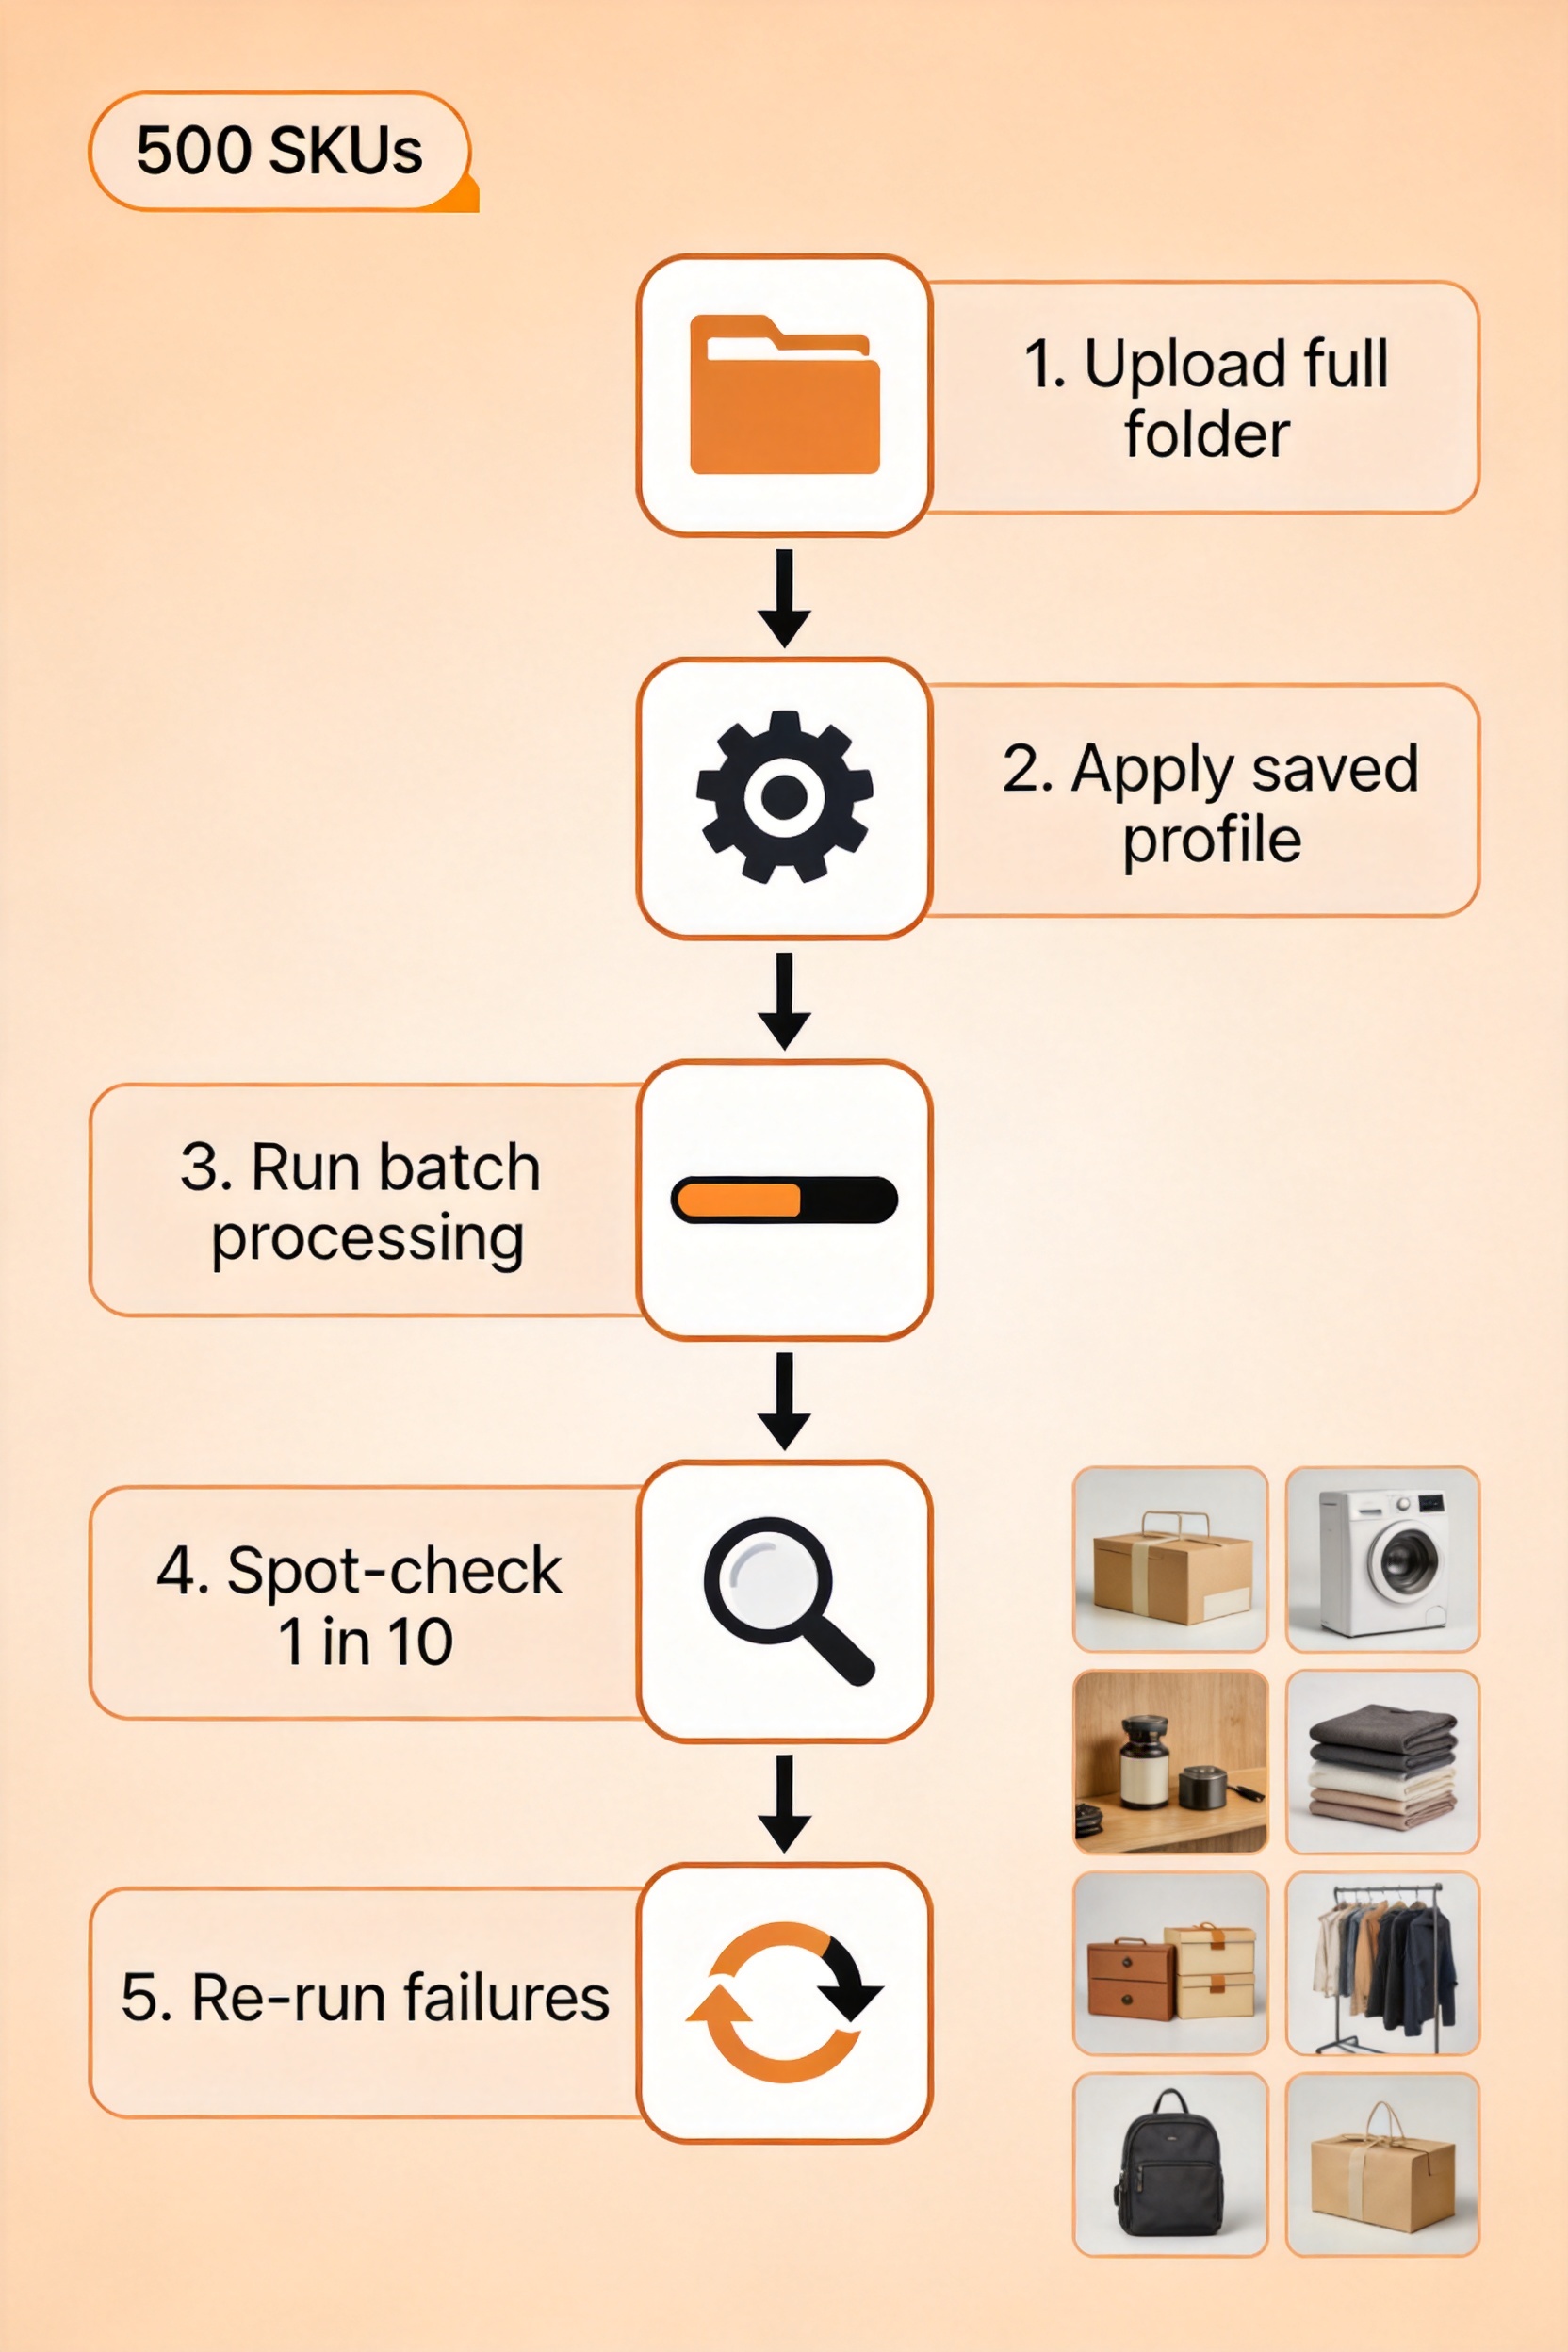
Step 4: Process and spot-check
Now the part that used to take weeks.
- Upload the whole folder — don't cherry-pick; let the batch run
- Apply the saved profile — background, crop, resolution in one click
- Run the batch — a 500-image catalog typically finishes in under an hour
- Spot-check 1 in 10 — not every image. Look for edge artifacts, color bleed, or lost detail
- Re-run failures only — a good bulk editor lets you fix the 2–3% that need a second pass without reprocessing everything
The 1-in-10 rule matters. Checking every image puts you back in single-image mode; checking none means a bad batch ships to your storefront.
Step 5: Export and distribute
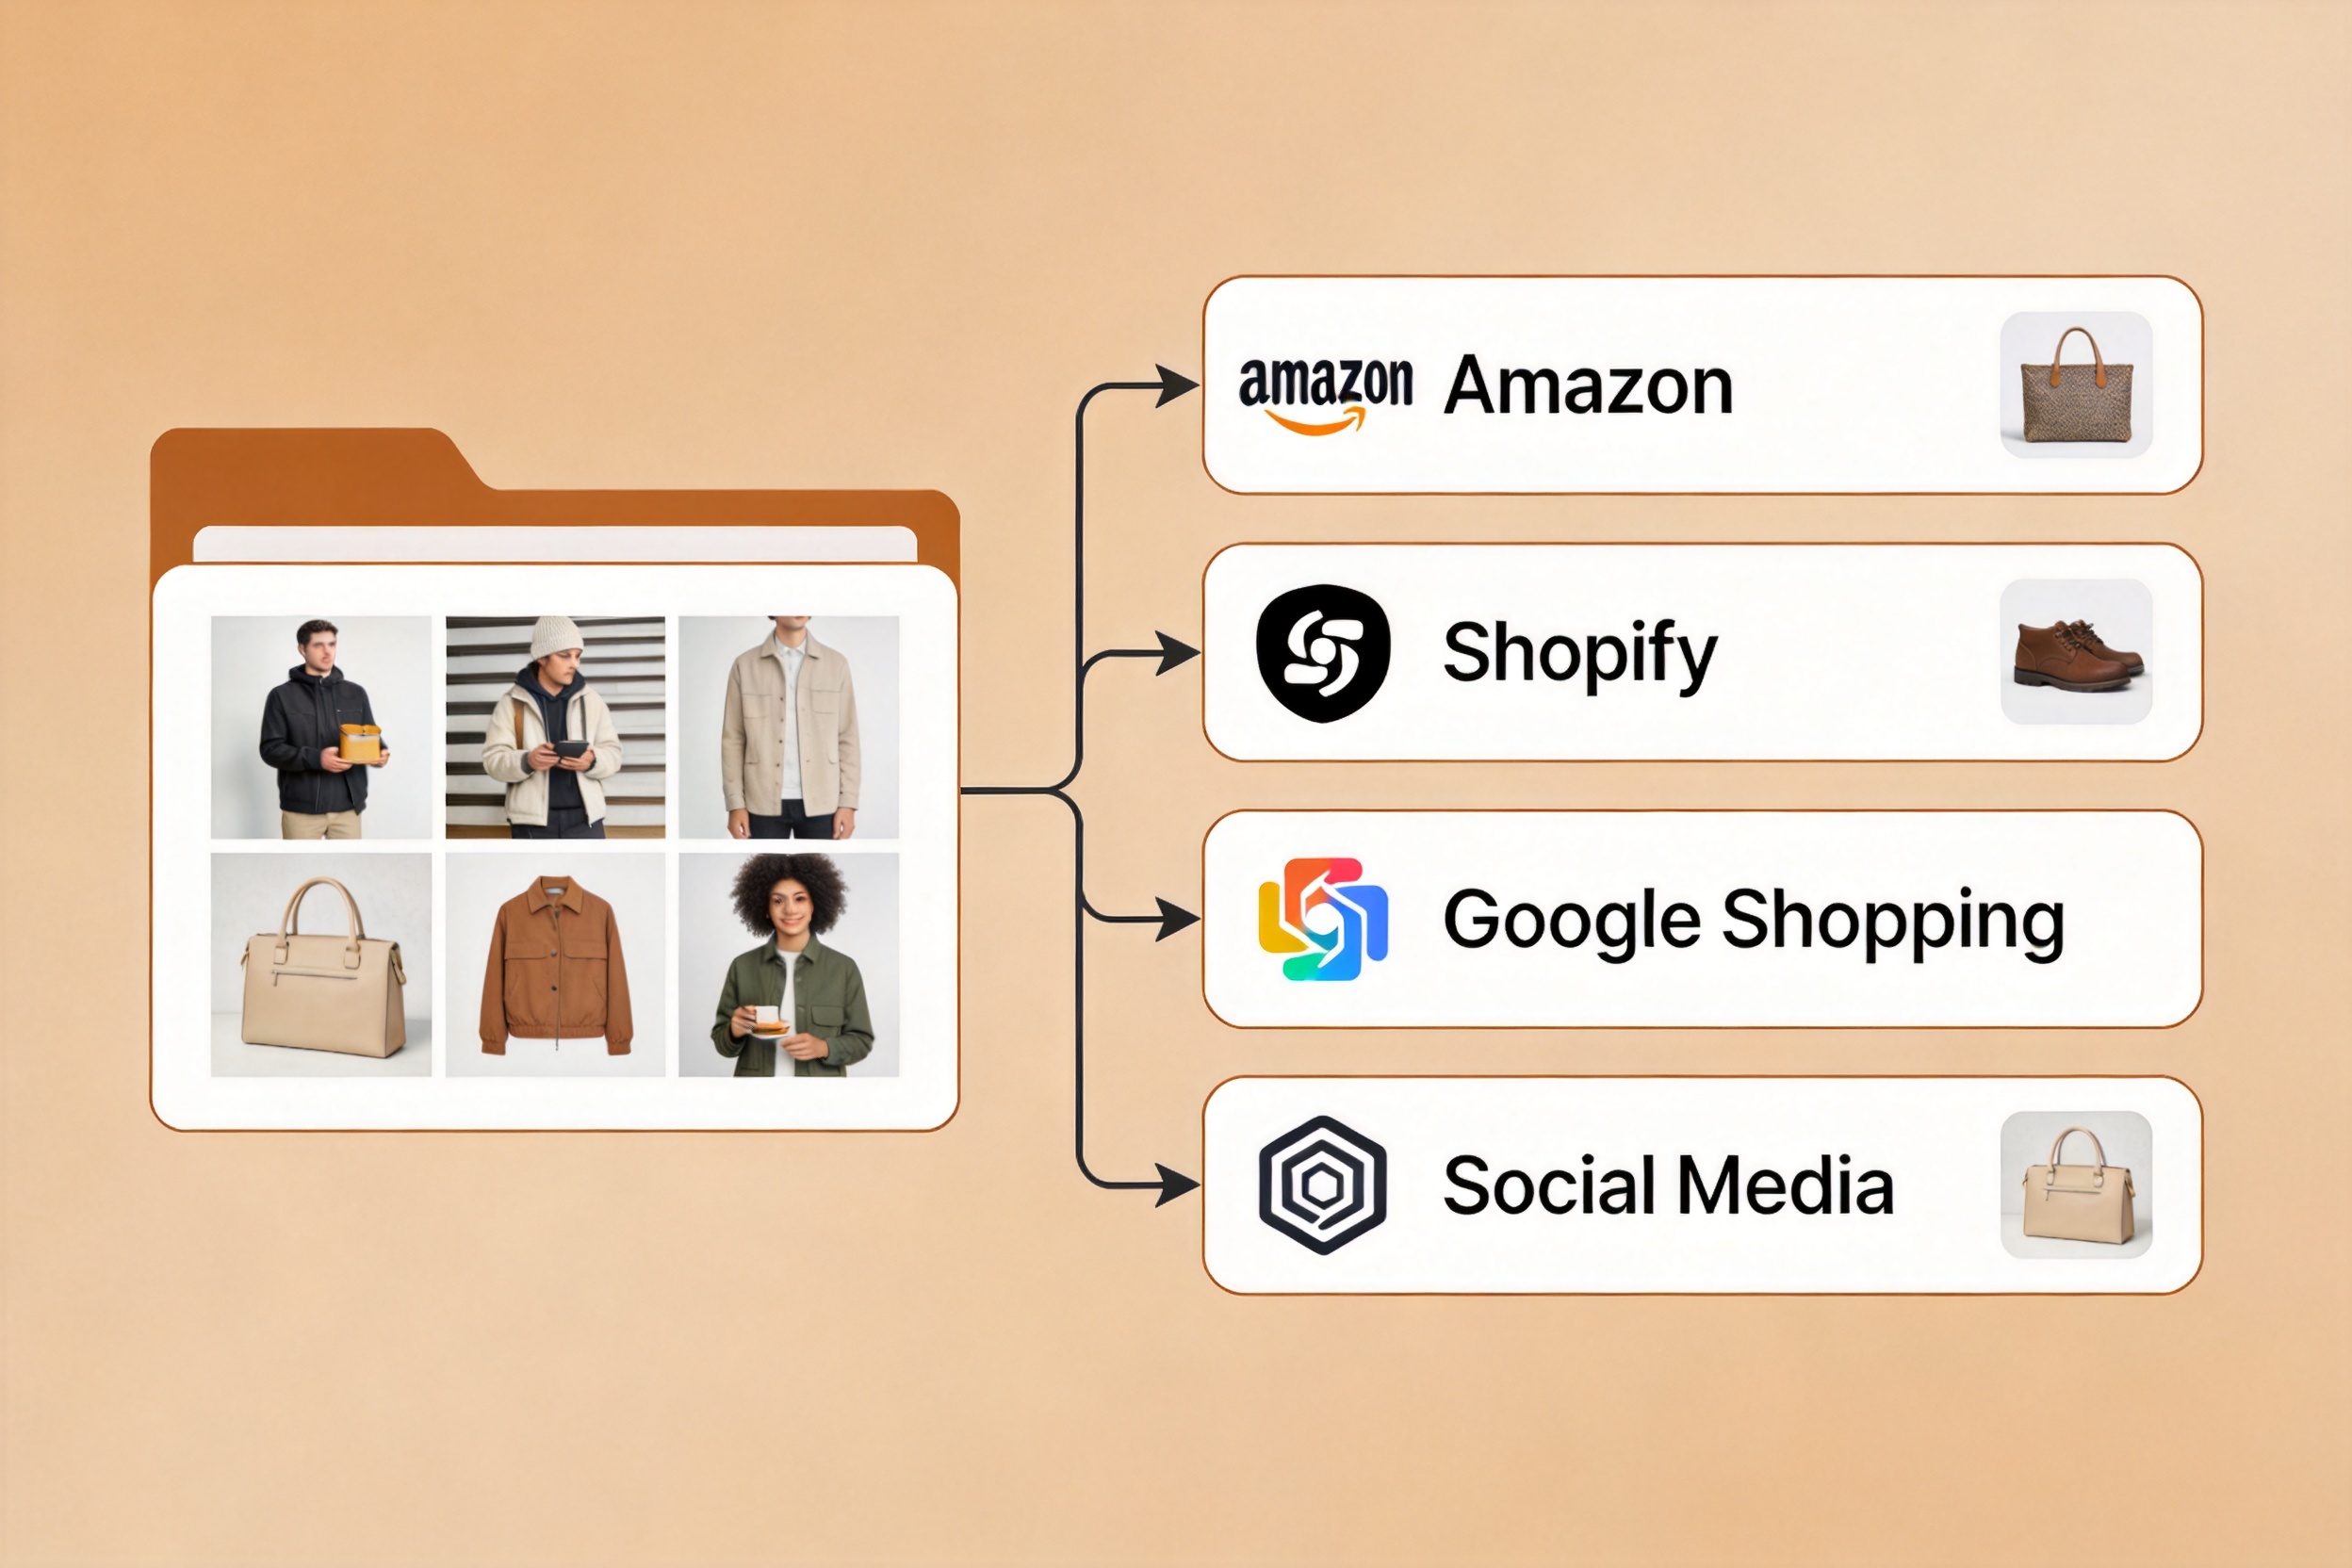
Export everything to a single zip with the naming convention intact, then route each image to its destination:
- Amazon / eBay — the pure white background square
- Shopify — white or light gray, sized for the theme
- Google Shopping — clean white for feed compliance
- Social — a separate crop or styled version if your editor supports it
The goal is one processed folder that feeds every channel, instead of re-editing per platform.
Common mistakes that ruin a batch
1. Inconsistent source lighting. One image shot in daylight, another under a lamp — the AI has to guess at the edges and produces halos. Fix: shoot in one session.
2. Skipping the spot-check. A single bad profile setting (wrong background hex, wrong crop) corrupts all 500 images. Always check the first output before the batch finishes.
3. Mixing fabric types in one batch. Apparel with soft edges (knit, chiffon, fringe) needs different edge handling than hard goods. Group by fabric type before upload.
4. Not saving the profile. Rebuilding settings each month wastes time and reintroduces drift. Save and reuse.
5. Choosing a tool with no batch export. If you have to download 500 images one at a time, the "bulk" label is marketing, not reality.
FAQ
How long does it take to process 500 product photos with a bulk editor?
Under an hour for the actual processing, plus 30–45 minutes to shoot standardized source photos and 15 minutes to spot-check. Total: roughly one afternoon versus 2–3 weeks of manual editing.
What's the cheapest way to get started with bulk product photo editing?
Use your phone for shooting, a $15 foam board for the background, and a bulk editor's free or entry tier. The whole setup can stay under $50 while producing marketplace-ready images.
Do I need a studio or professional camera for batch product photography?
No. Consistent natural light and a plain background matter more than the camera. A phone from the last few years is enough for most marketplace catalogs.
Can I batch-process apparel with soft edges like knitwear or chiffon?
Yes, but group them by fabric type and use an editor with apparel-specific edge handling. Soft fibers need different processing than a ceramic mug, and mixing them in one batch produces inconsistent edges.
Does batch processing work for non-photo products like electronics or cosmetics?
Yes. Hard goods with clean edges are actually the easiest to batch-process. The same profile applies cleanly across an entire electronics or beauty catalog.
How do I keep my batch consistent across monthly new arrivals?
Save your batch profile — background, crop, resolution — and reuse it every month. Consistency across time is the real benefit of a bulk editor, not just consistency within one batch.
For the full cost breakdown of traditional vs AI product photography, read The Real Cost of Product Photography vs AI. For the general white background process, see my white background product photos guide. And if you're ready to generate on-model apparel images at scale, start with the AI fashion model generator.
Ready to speed up your image workflow?
Generate AI fashion models, product photos, and virtual try-on images in minutes.